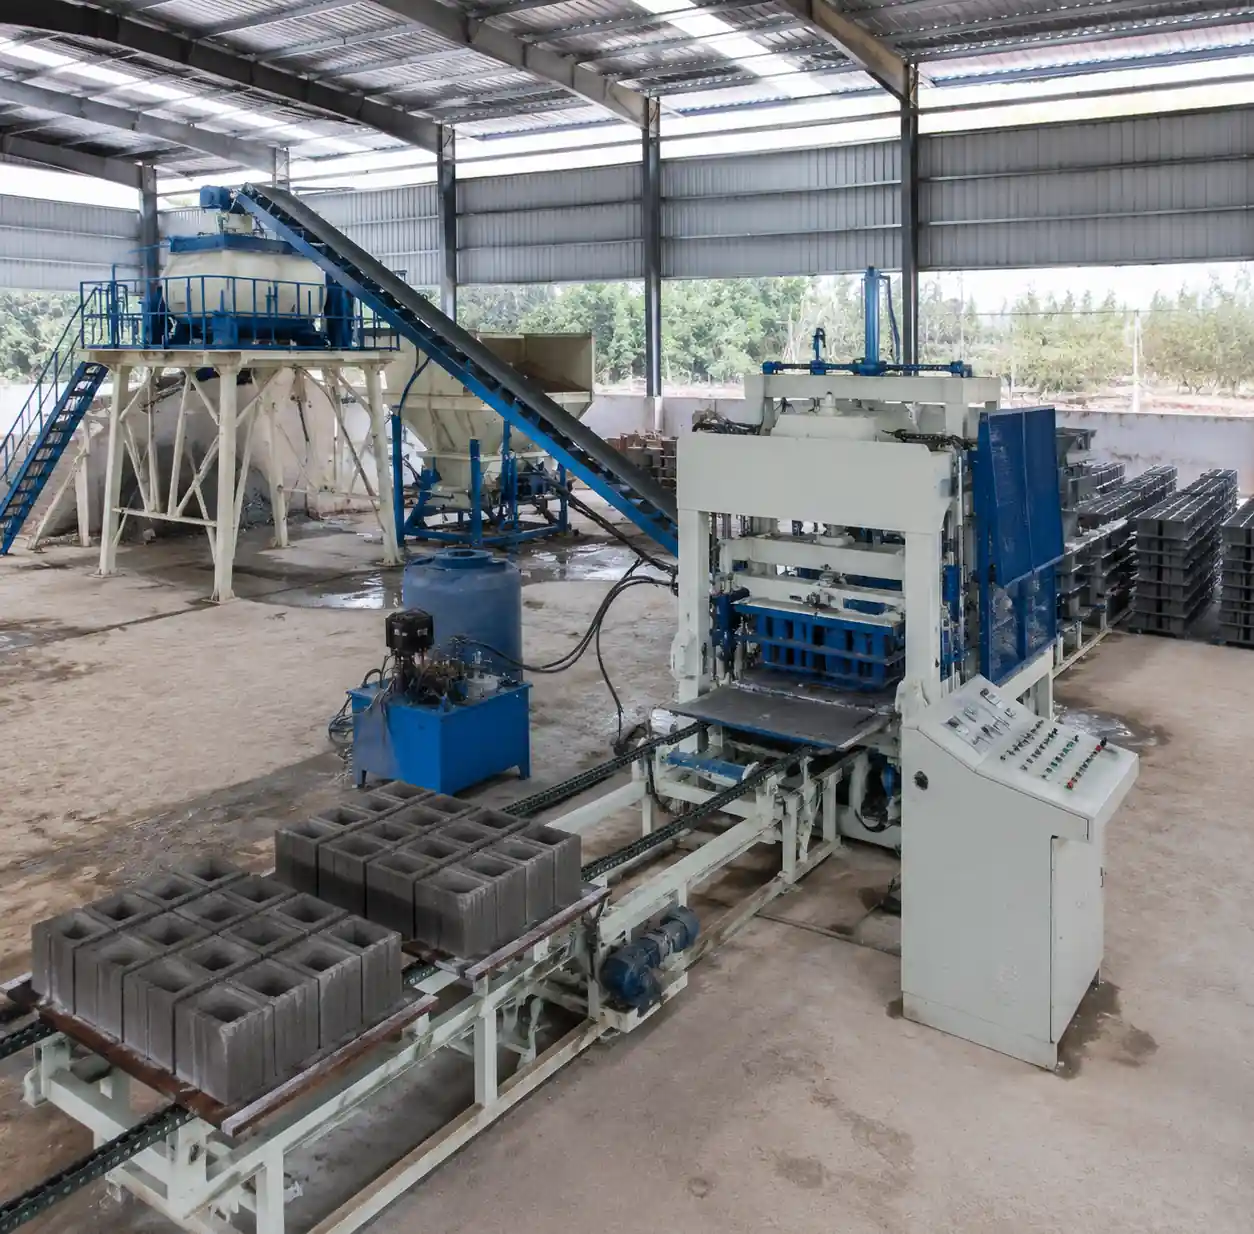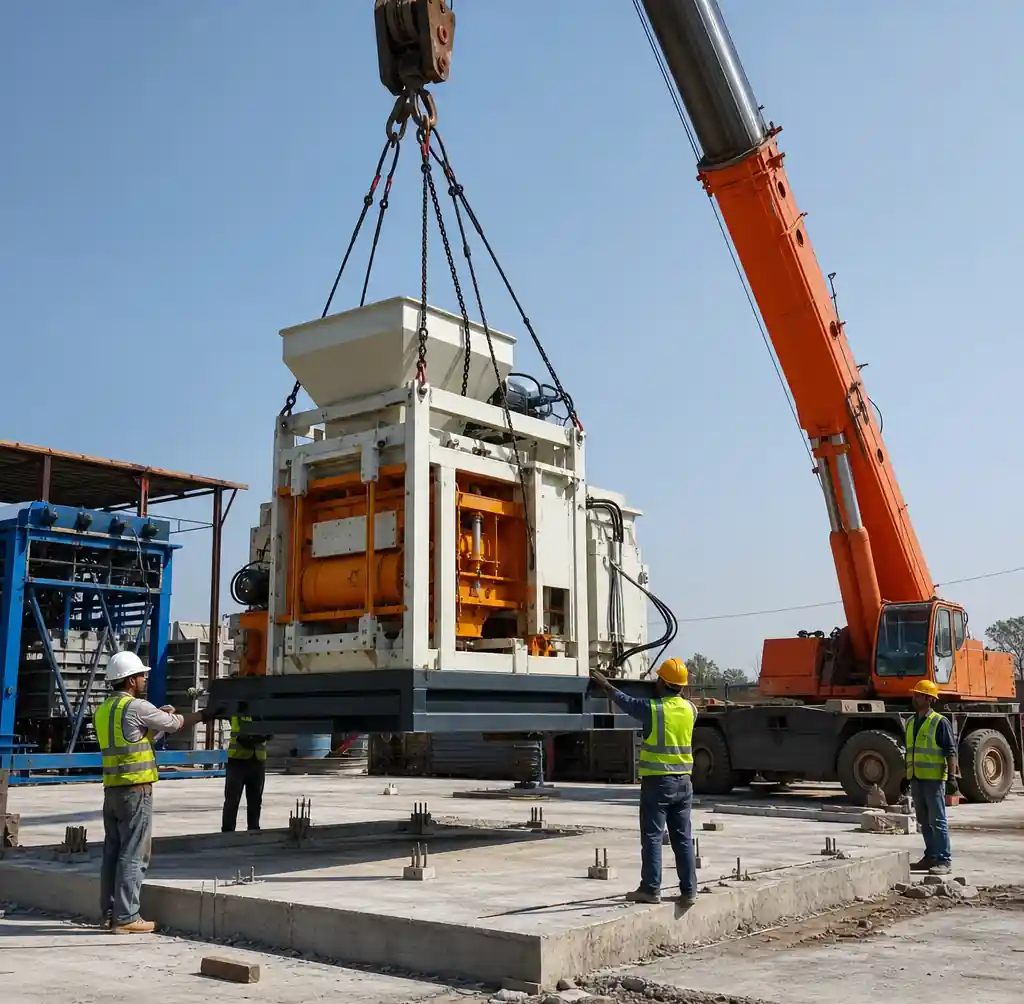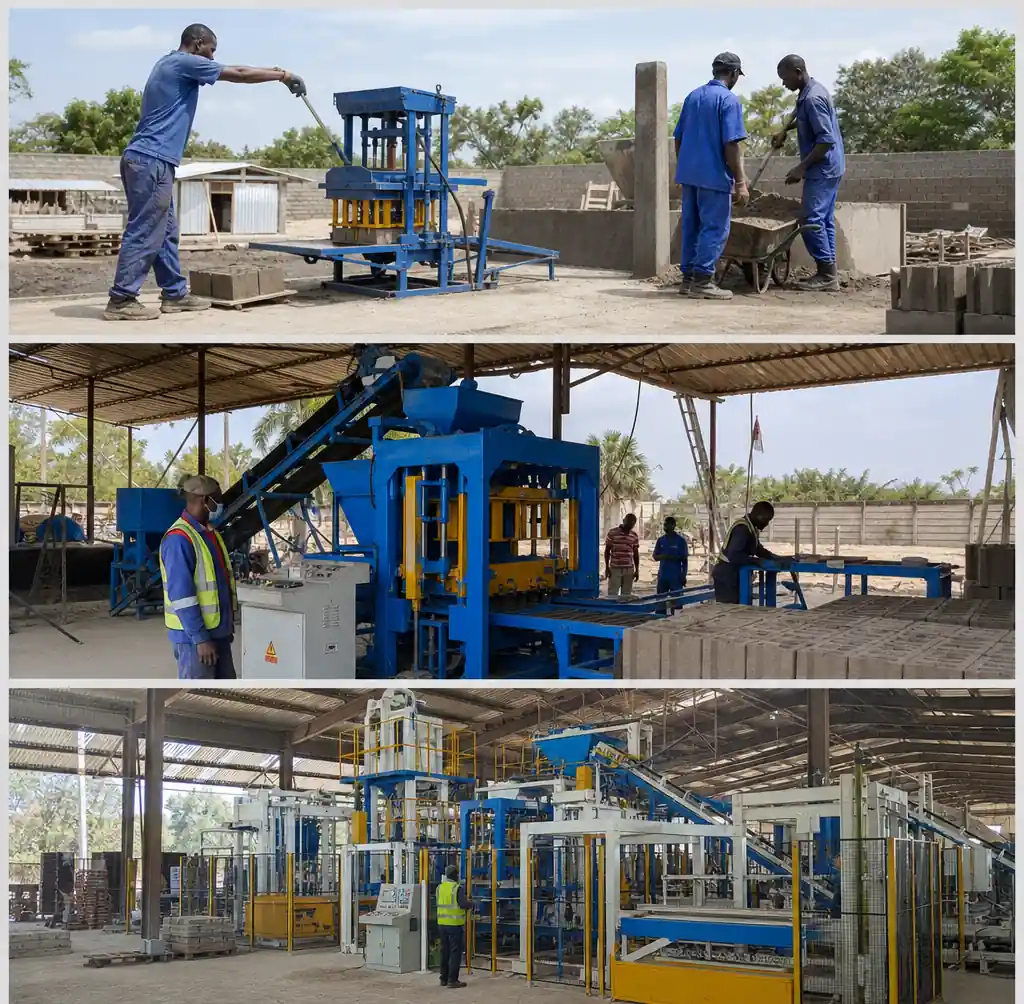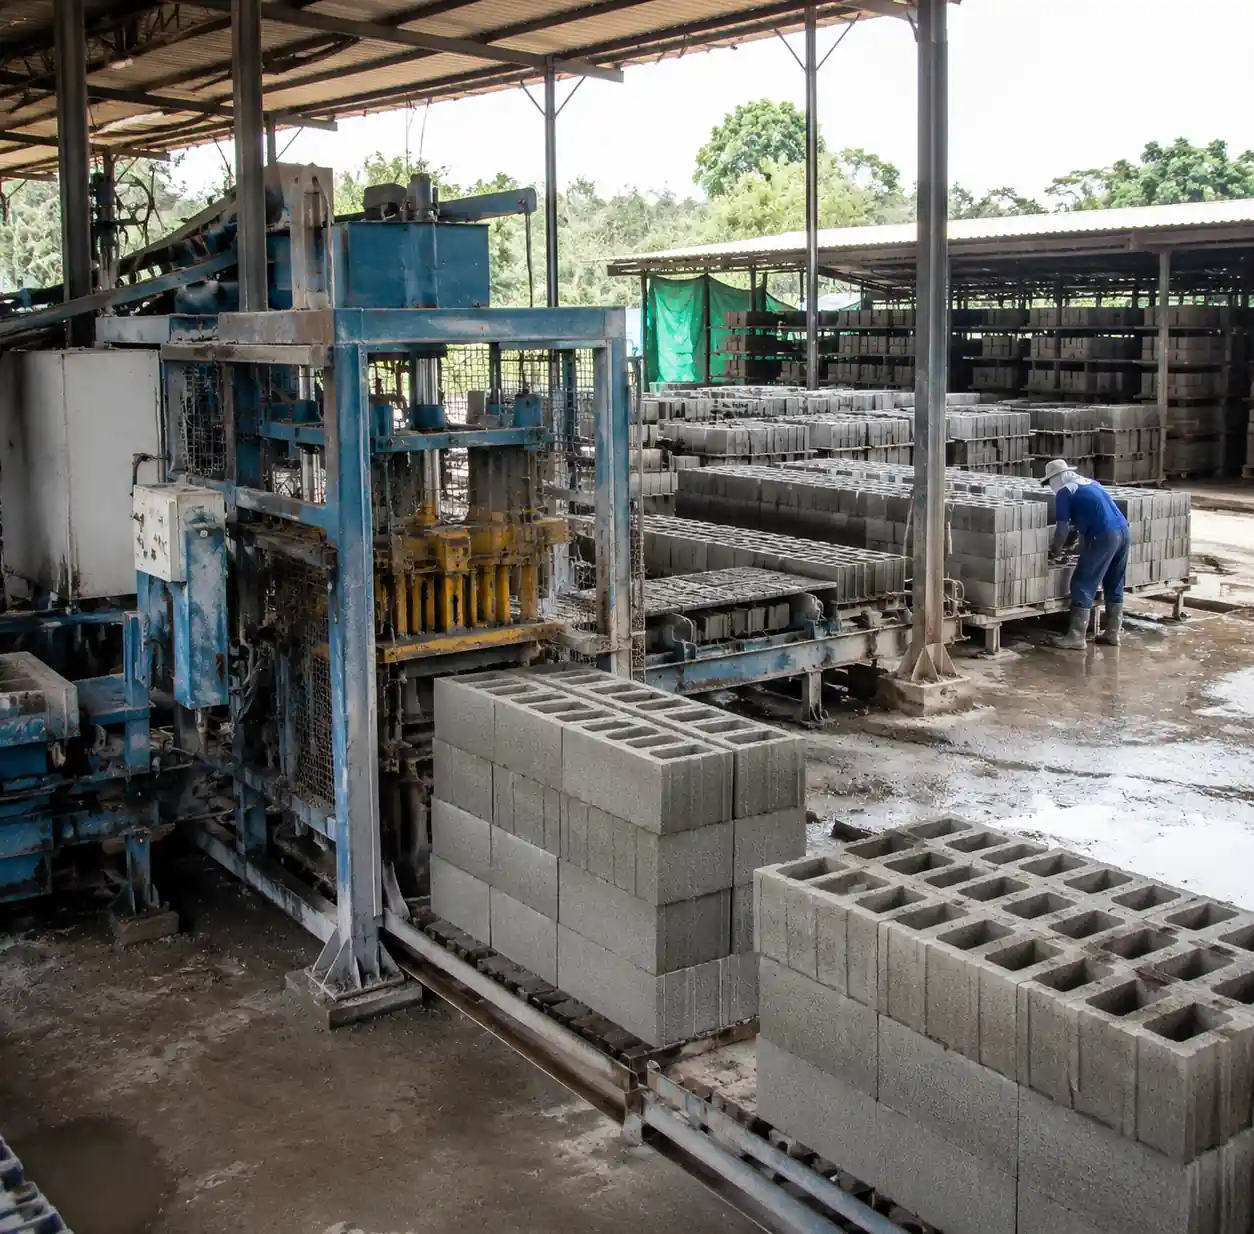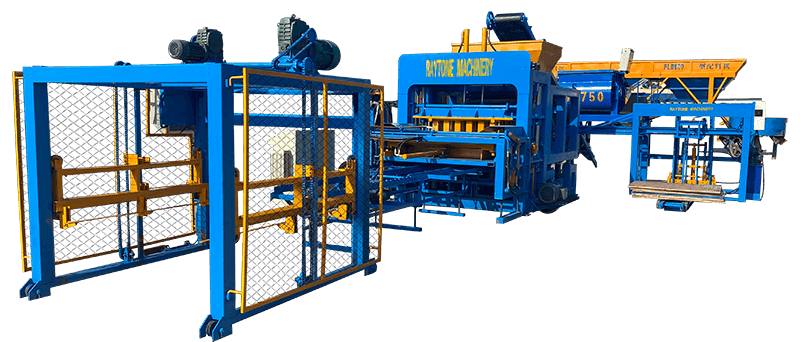






Choosing the right factory size isn’t guessing—it’s matching space to production goals, equipment type, and growth plans. After setting up block plants across five countries, I’ve seen businesses struggle with cramped layouts that kill productivity and others waste money on oversized facilities they’ll never fill. The difference comes down to understanding what space you actually need versus what vendors suggest.
This guide covers real space requirements by production scale, curing yard calculations, and layout strategies that prevent costly mistakes before you sign a lease or buy land.
Space Requirements by Production Scale
Your daily production target determines baseline space needs. These figures account for machine footprint, material flow, curing areas, and safe working zones—not just equipment dimensions.
| Production Scale | Daily Output | Machine Type | Total Space Needed | Key Considerations |
|---|---|---|---|---|
| Small-scale startup | 1,000-3,000 blocks | Manual (QT4-40, QT4-24) | 500-1,200 m² | Minimal infrastructure, rented space suitable |
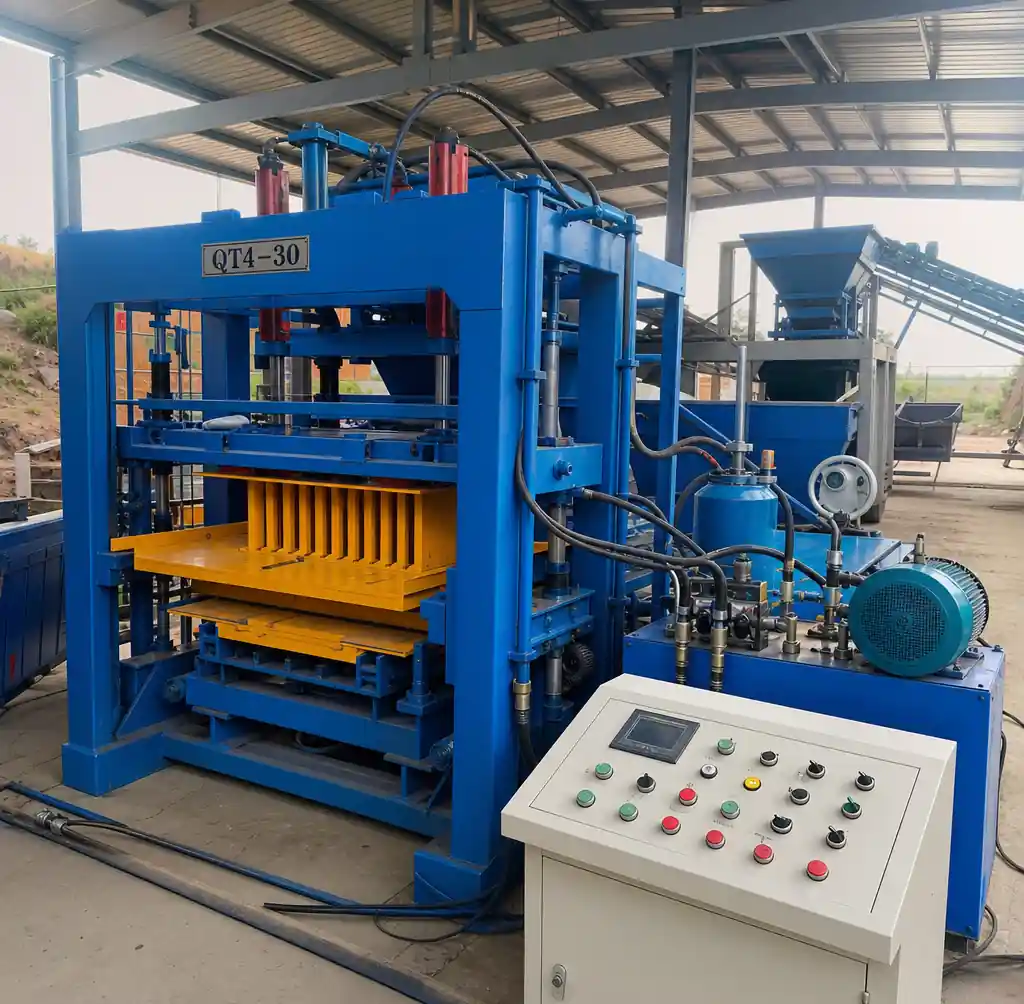
| Medium-scale operation | 5,000-10,000 blocks | Semi-automatic (QT4-30, QT6-15) | 1,500-3,000 m² | Proper drainage, dedicated mixer area needed |
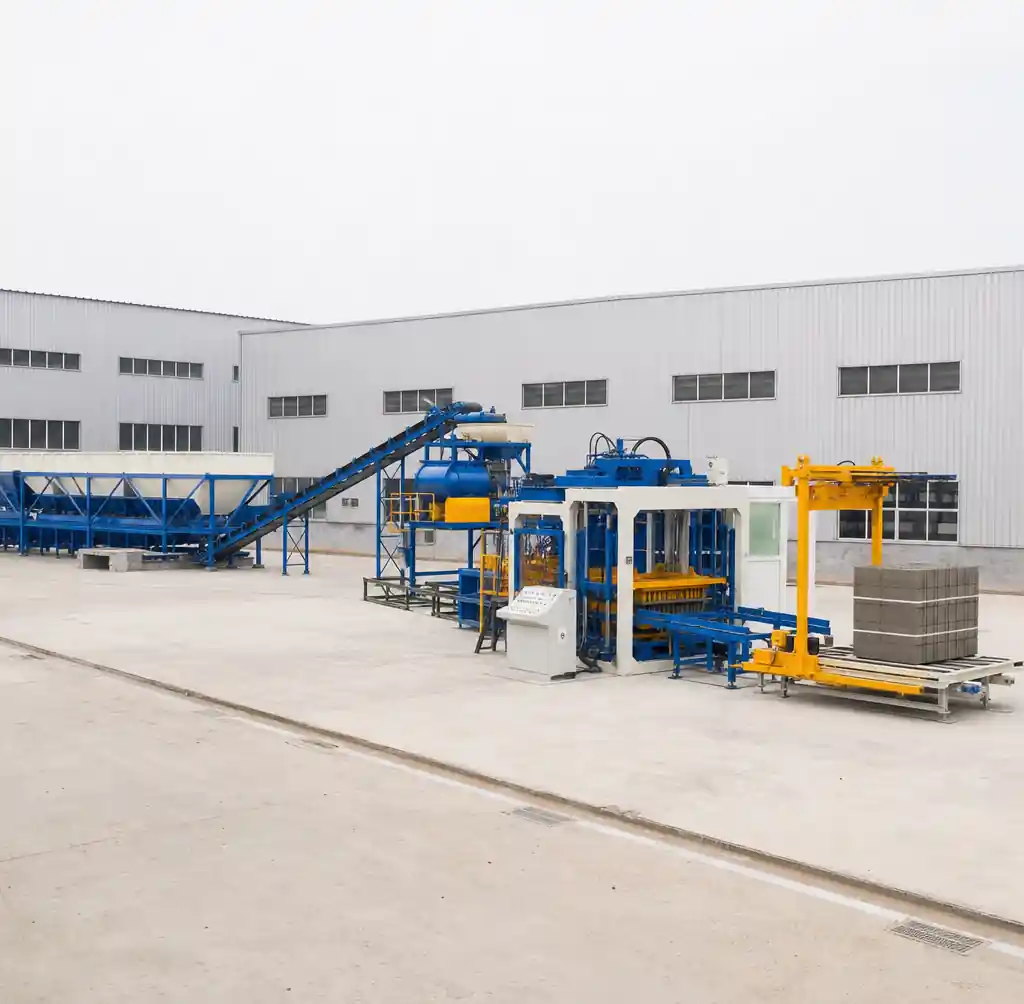
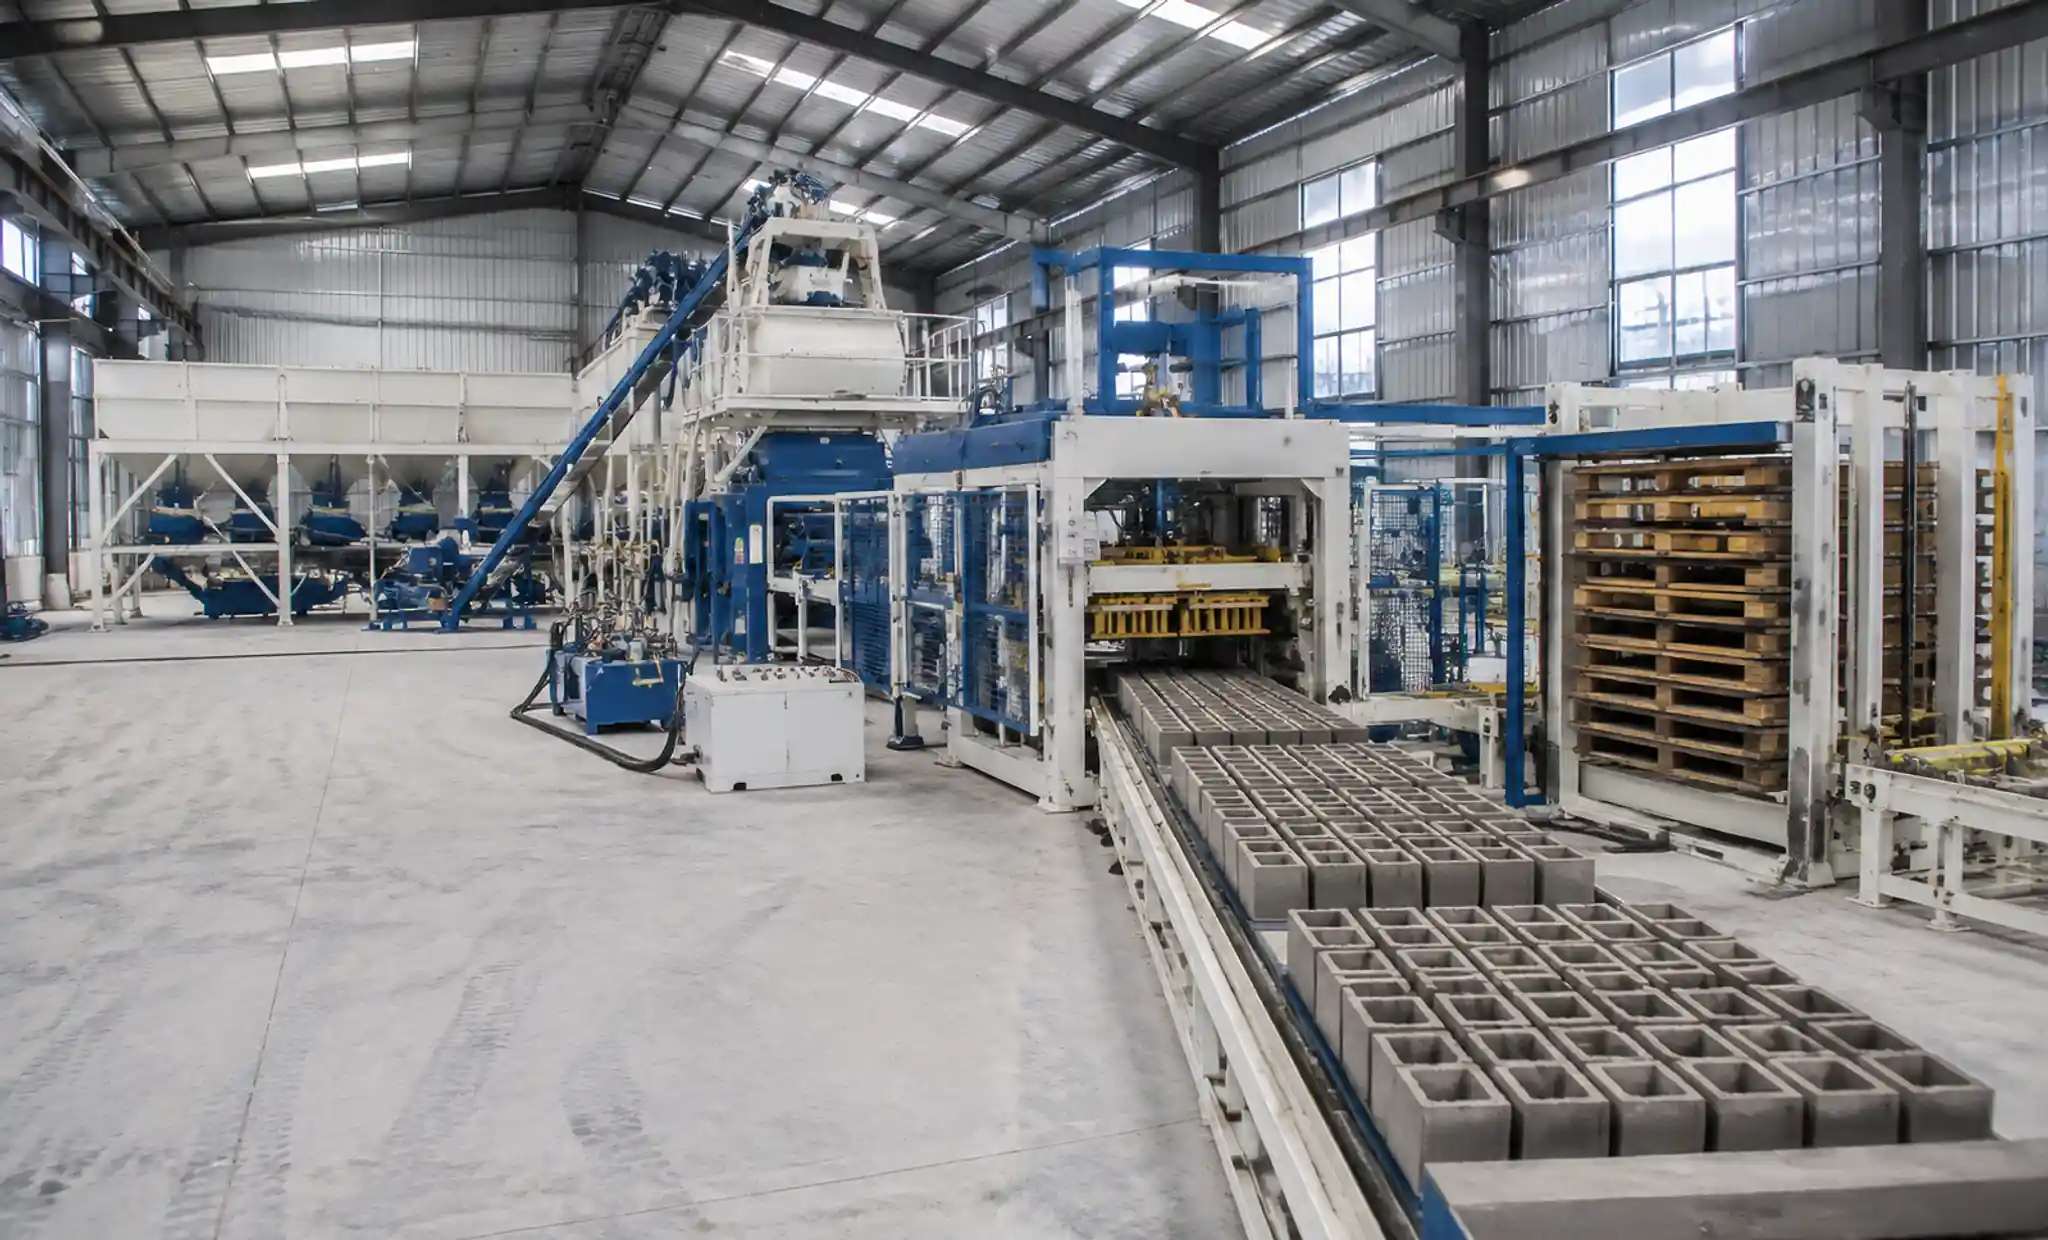
| Large-scale plant | 15,000-30,000 blocks | Automatic (QT10-15, QT12-15) | 4,000-8,000 m² | Full automation layout, forklift pathways |
| Industrial plant | 40,000-50,000 blocks | Fully automatic line | 8,000-12,000 m² | Integrated batching, robotic stacking |
A manual block machine producing 2,400 blocks per day needs roughly 800 m² minimum—but that assumes tight operations with no expansion room. Real-world startups allocate 1,000-1,200 m² to avoid bottlenecks when demand picks up.
For semi-automatic operations, underestimating space creates workflow chaos. A QT4-30 machine technically fits in 300 m², but you’ll need 1,800-2,500 m² total when you factor in the mixer station, pallet staging, and the curing yard holding 14-21 days of production.
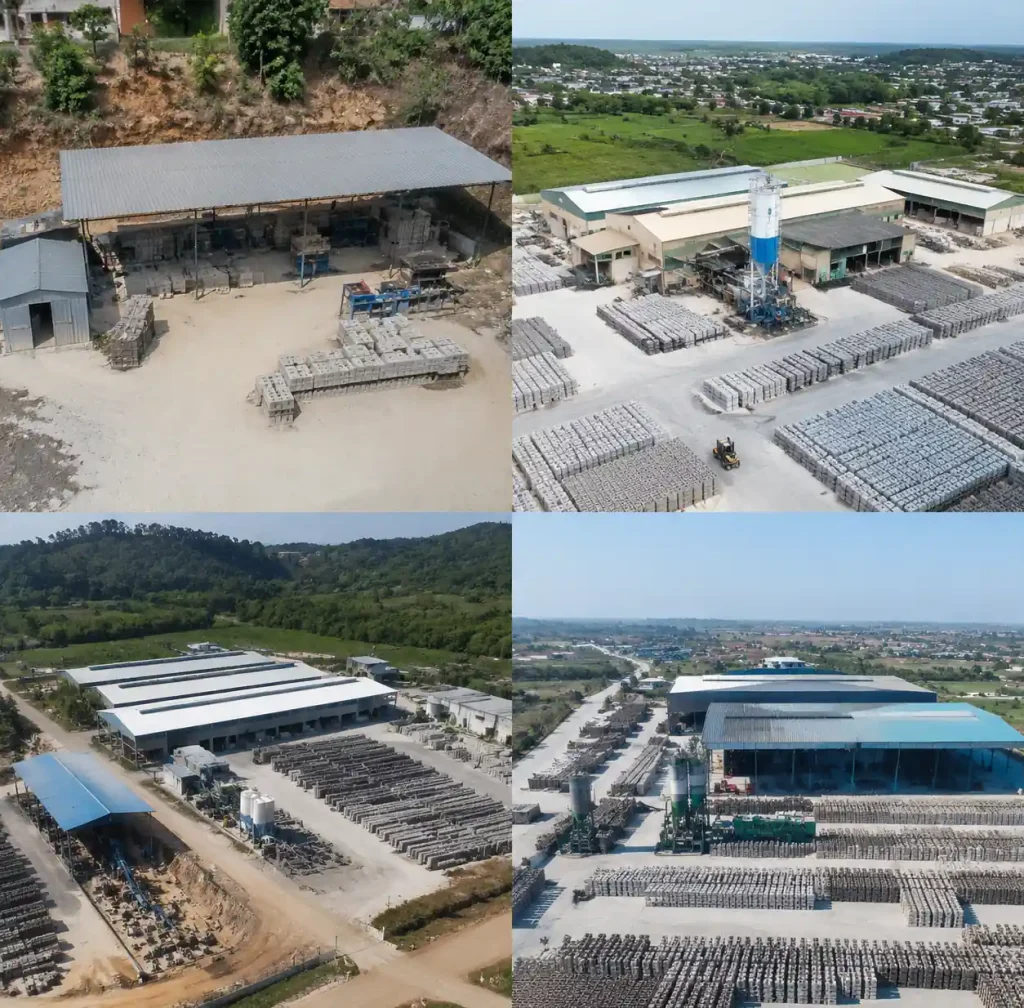
Machine Footprint and Production Area
Equipment dimensions tell only part of the story. Operational space includes material approach zones, operator movement, maintenance access, and pallet circulation.
Manual Machine Layout (QT4-40):
- Machine footprint: 2.8m × 2.1m
- Working zone requirement: 8m × 10m (80 m²)
- Material staging: 15-20 m²
- Mold storage: 8-12 m²
- Total production area: 120-150 m²
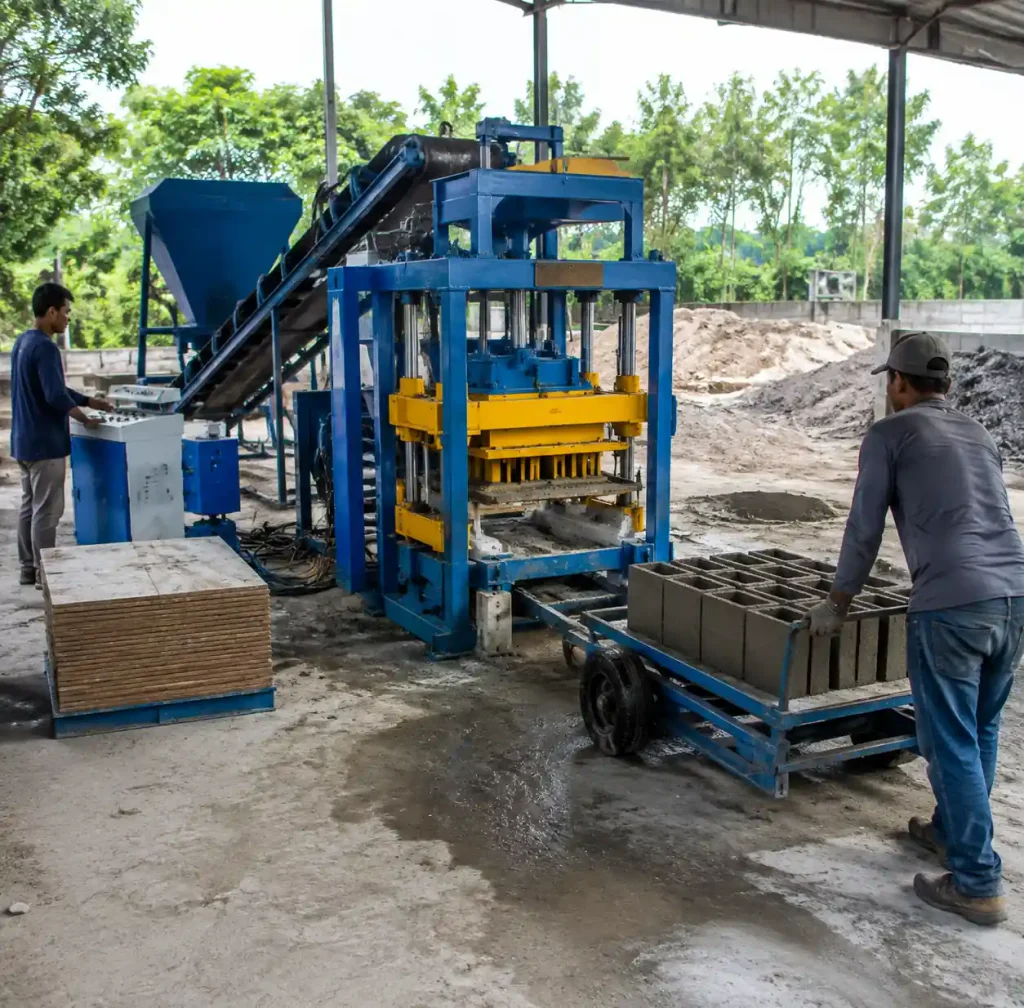
Semi-Automatic Machine Layout (QT4-30):
- Machine footprint: 4.2m × 3.8m
- Working zone: 12m × 15m (180 m²)
- Mixer area: 25-35 m²
- Pallet circulation: 40-50 m²
- Total production area: 260-320 m²
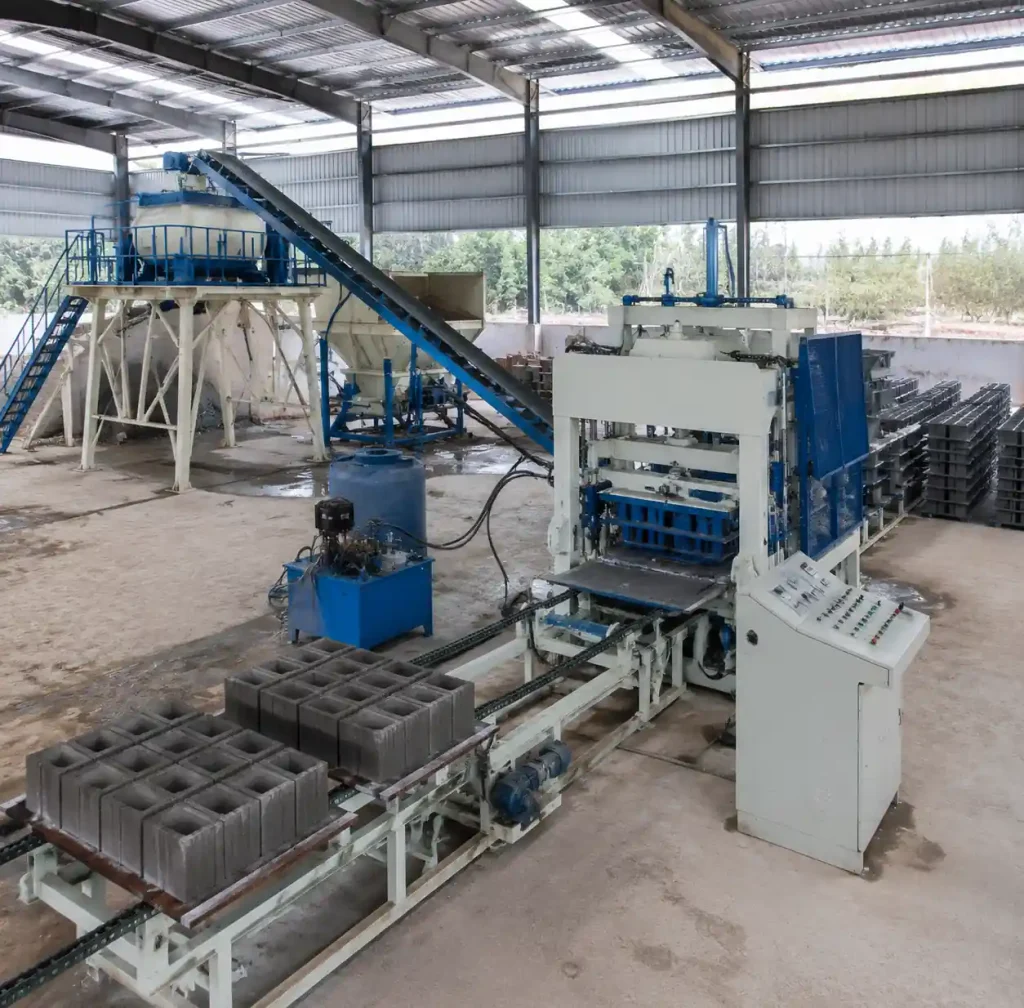
Fully Automatic Line (QT10-15):
- Main production line: 25m × 8m (200 m²)
- Batching plant and silos: 18m × 12m (216 m²)
- Robotic stacking: 15m × 10m (150 m²)
- Forklift pathways: 180-240 m² (4m wide minimum)
- Total production area: 850-1,000 m²
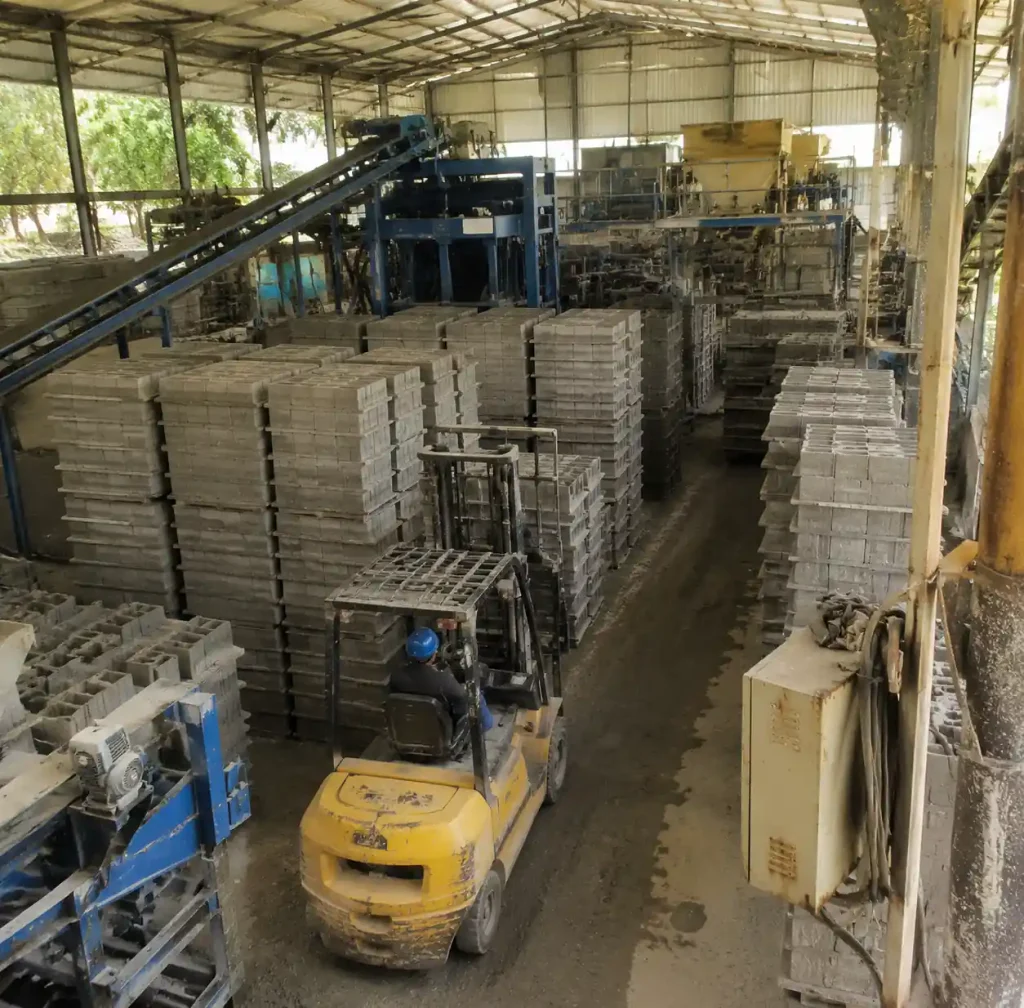
Automatic production lines need 4-meter pathways for forklift maneuvering without disrupting production. Narrow it to 3 meters and operators make three-point turns while production waits.
Curing Yard Calculation
The curing yard holds your entire profit for 7-28 days while blocks reach strength. Size it wrong and you’ll either run out of space mid-production or pay for unused land.
Basic curing space formula:
Curing area (m²) = (Daily production × Curing days × Block footprint) / Stacking efficiencyExample for 10,000 blocks/day:
- Standard hollow block: 400mm × 200mm × 200mm
- Footprint per block: 0.08 m²
- Curing period: 14 days minimum
- Stacking height: 6-8 blocks (safety limit)
- Stacking efficiency: 75% (aisles, handling space)
Curing area = (10,000 × 14 × 0.08) / (7 × 0.75) = 2,133 m² minimumAdd 20-25% buffer: Recommended curing yard: 2,560-2,666 m²
| Daily Production | Curing Period | Curing Yard Size | Stacking Layout |
|---|---|---|---|
| 3,000 blocks | 14 days | 640-800 m² | Single zone, manual handling |
| 7,000 blocks | 14-21 days | 1,400-2,100 m² | Two zones, forklift recommended |
| 15,000 blocks | 14-21 days | 3,000-4,500 m² | Three zones, dedicated forklift |
| 30,000 blocks | 21-28 days | 7,200-10,800 m² | Four zones, multiple forklifts |
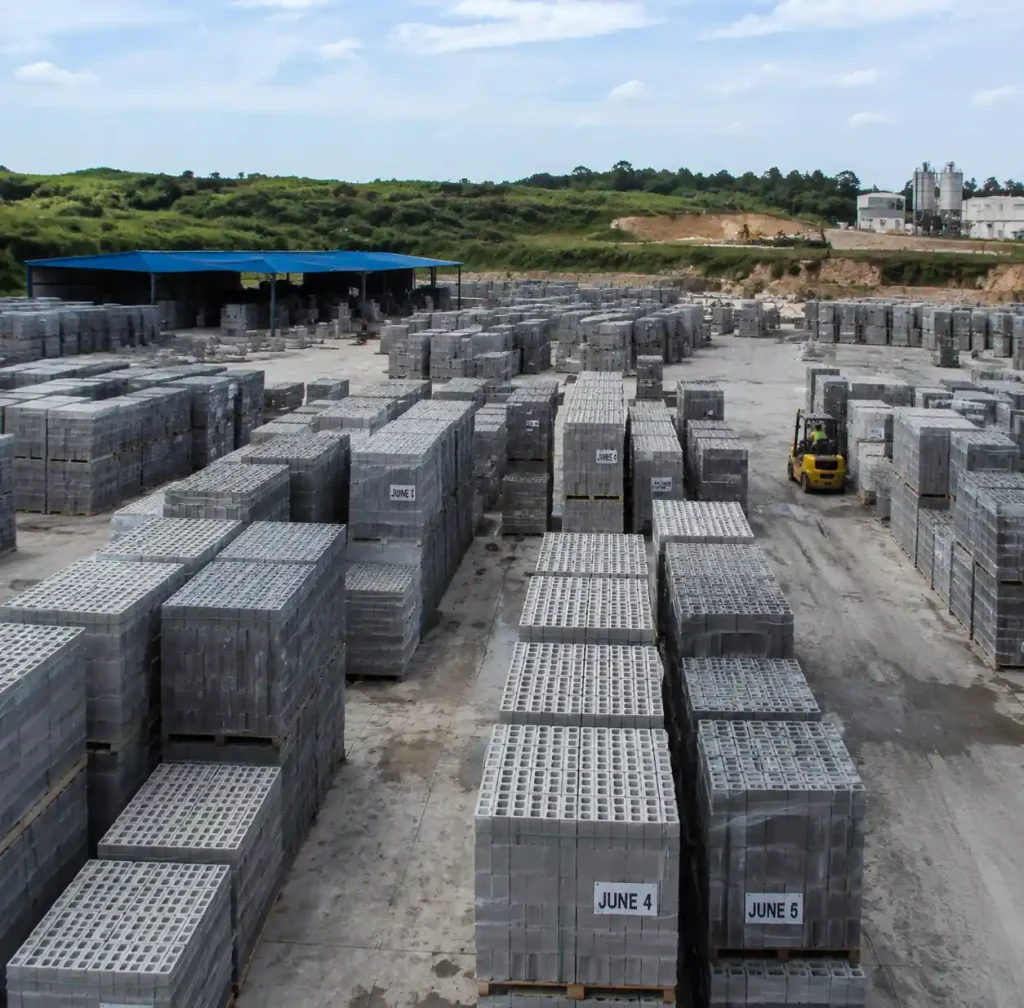
Curing yard layout strategy: Divide the yard into dated sections—one for each production day. After 14-21 days, that section ships out and becomes available for the next cycle. This prevents mixing batches and ensures quality control.
Raw Material Storage Requirements
Material storage affects production consistency and purchasing power. Adequate storage lets you buy cement in bulk during price drops and maintain production during supplier delays.
Cement storage (for 10,000 blocks/day):
- Daily consumption: 700-800 bags
- Recommended inventory: 15-20 days supply
- Storage space: 140-180 m²
- Stacking: 10-12 bags maximum
- Coverage: Fully enclosed with ventilation
Aggregate and sand storage:
- Daily consumption: 12-14 m³
- Recommended inventory: 20-30 days
- Storage space: 350-450 m²
- Organization: Separate bays for coarse, fine aggregate, sand
- Drainage: Sloped concrete pad
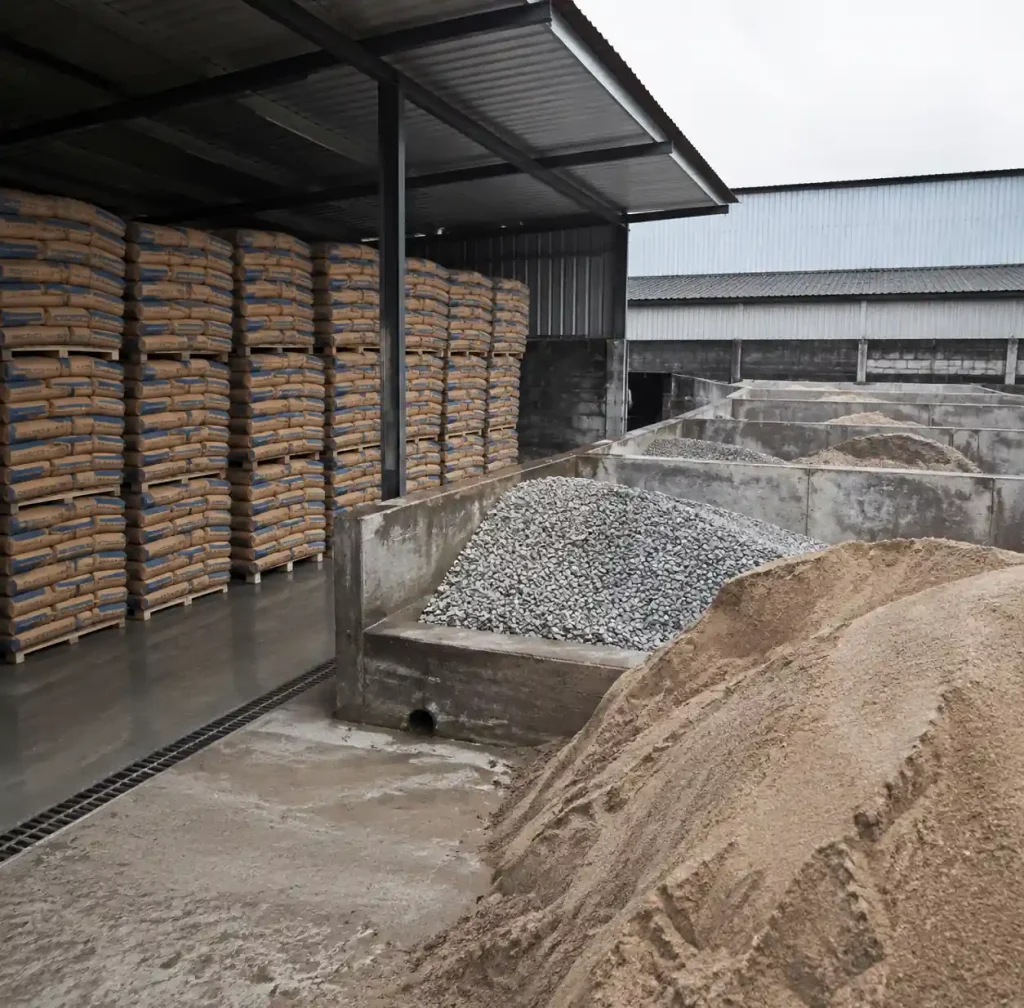
The 15-20 day cement inventory provides purchasing leverage. Cement prices fluctuate $5-15 per ton seasonally. Plants with storage capacity lock in bulk purchases saving $3,500-8,000 over 3-4 months. For detailed sourcing guidance, see raw materials for block making.
Supporting Facilities and Infrastructure
Production equipment gets attention, but supporting facilities determine whether operations run smoothly.
Office and administrative space: 40-80 m²
Worker facilities: 30-50 m² (changing rooms, rest area, restrooms, first aid)
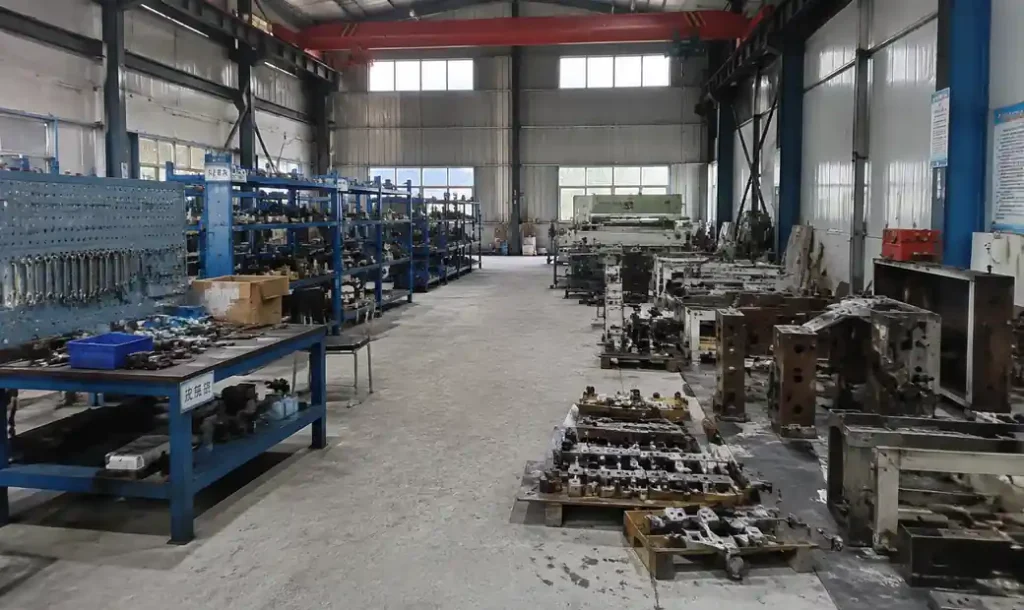
Maintenance workshop: 50-100 m² (workbench, spare parts, welding, mold repairs)
Electrical infrastructure:
- Manual: 7.5-15 kW
- Semi-automatic: 30-45 kW
- Automatic: 60-120 kW
- Fully automatic plant: 180-250 kW
Size transformers and cabling for peak load (motors draw 3-5x rated power during startup), not average consumption. Learn more about brick making machine power requirements.
Site Selection and Layout Optimization
Location and layout choices enable efficient operations or create permanent handicaps.
Site selection priorities:
- Proximity to raw materials (20-50 km ideal) – Transportation costs add $8-15 per ton beyond 50km
- Market accessibility – Distribution radius 80-150 km economically
- Utilities availability – Three-phase power, reliable water
- Land characteristics – Level ground, proper drainage, expansion space
Layout optimization principles:
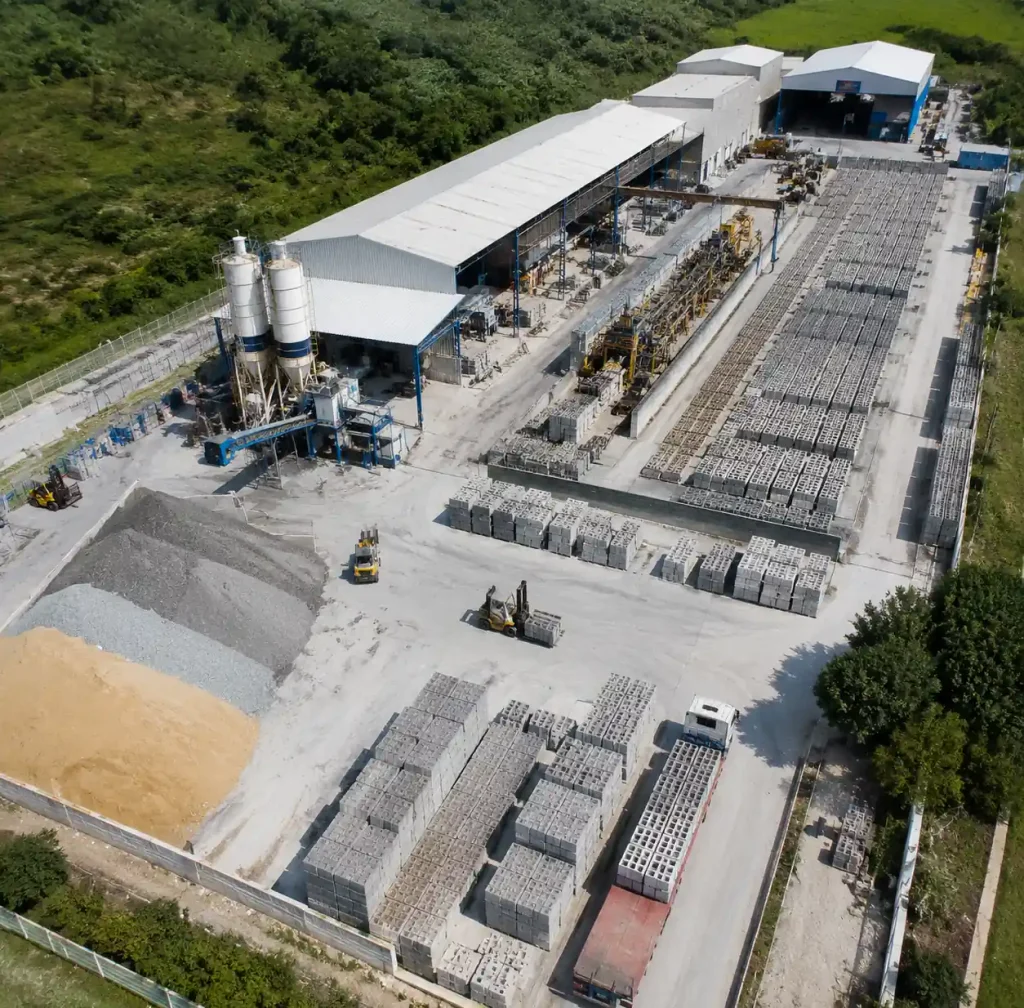
Linear workflow: Arrange in production sequence—raw material storage → mixing → molding → curing yard → finished storage → dispatch. Material flows one direction without backtracking.
Separation of zones: Keep cement storage and mixing 20-30 meters from molding machines. Cement dust damages hydraulic seals and PLC components.
Forklift efficiency: Place curing yard adjacent to production area for short trips. Position finished storage near dispatch gates.
Expansion planning: Reserve 30-40% additional land for future capacity. Plants that max out initial land face relocation costs or permanent capacity limits.
Space Requirements by Equipment Configuration
| Configuration | Production | Total Space | Key Components |
|---|---|---|---|
| Manual + basic setup | 2,400-3,600 blocks/day | 1,000-1,400 m² | Machine 120 m², mixer 40 m², storage 160 m², curing 650 m², facilities 100 m² |
| Semi-auto + mixer | 7,000-10,000 blocks/day | 2,800-4,000 m² | Production 320 m², storage 400 m², curing 2,200 m², facilities 150 m² |
| Automatic + batching | 20,000-30,000 blocks/day | 7,500-11,500 m² | Production 1,000 m², batching 250 m², storage 550 m², curing 6,500 m², facilities 250 m² |
Add 25-35% more space for multi-product facilities (hollow blocks, pavers, interlocking blocks) due to additional mold storage, separate curing zones, and increased finished inventory.
Common Space Planning Mistakes to Avoid
Mistake 1: Undersizing the curing yard – Calculating for 7 days instead of required 14-28 days forces off-site storage at $0.08-0.12 per block.
Mistake 2: Ignoring forklift turn radius – Designing 2.5-3m aisles when loaded forklifts need 4-4.5m results in 20-30% slower material handling.
Mistake 3: No expansion space – Building to exact capacity leaves no room for growth without relocation.
Mistake 4: Poor drainage – Flat areas without proper slope force expensive retrofitting later.
Mistake 5: Inadequate material storage – 5-7 days storage loses bulk purchase savings and creates supplier dependency.
Mistake 6: Office blocking material flow – Placing administration between entrance and production creates traffic conflicts.
Mistake 7: Single access point – One gate for deliveries and dispatch causes bottlenecks.
Mistake 8: No cement weather protection – Open storage causes 8-12% material loss to humidity damage.
Expansion Planning and Future Capacity
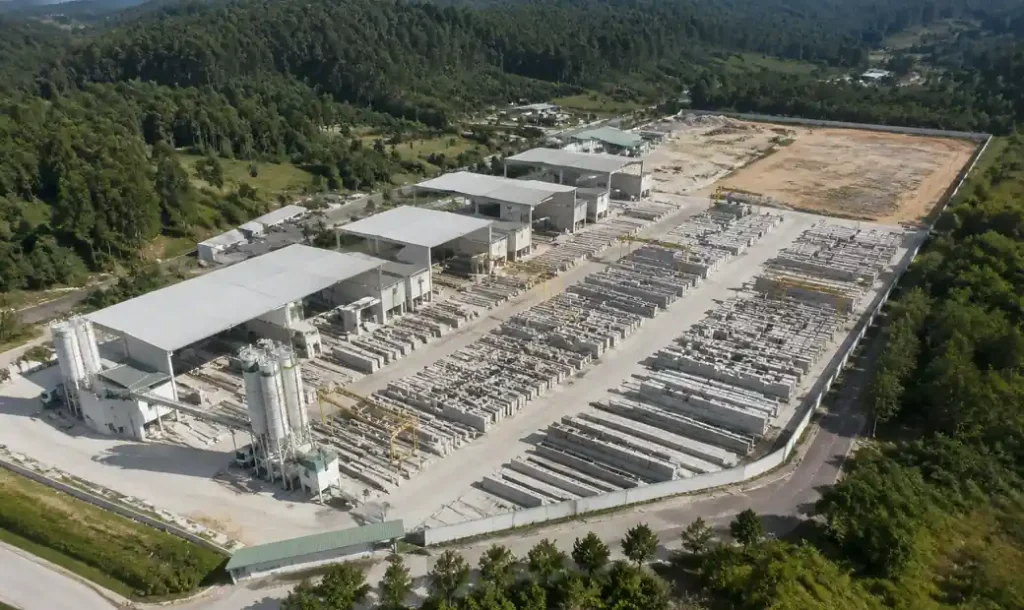
Smart operators plan expansion during initial site selection. Adding capacity to well-planned facilities costs 40-60% less than retrofitting maxed-out sites.
Phased expansion approach:
Phase 1 (Year 1): Install one line, build curing yard at 150% initial capacity, use 60-65% of land
Phase 2 (Year 2-3): Add second line in pre-designated zone, expand material storage
Phase 3 (Year 4-5): Add third line if demand warrants, utilize remaining land
| Scenario | Initial Investment | Expansion Cost | Total Cost | Cost Premium |
|---|---|---|---|---|
| Built for expansion | $285,000 | $95,000 | $380,000 | Baseline |
| No expansion planning | $235,000 | $180,000 | $415,000 | +9.2% |
| Modular approach | $260,000 | $110,000 | $370,000 | -2.6% |
Expansion triggers: Operating above 85% capacity for 6+ months, 3-4 week order backlogs, regular rejection of large orders, competitor market entry.
FAQ
How much space does a small block making business need?
A small manual operation producing 1,500-3,000 blocks daily requires 800-1,400 m² total, including production (100-150 m²), material storage (140-180 m²), curing yard (450-750 m²), and facilities (80-120 m²).
What’s the minimum curing yard size for 10,000 blocks per day?
For 10,000 blocks/day with 14-day curing, you need 2,560-2,660 m² practical space. Extend to 3,200-4,000 m² for export markets requiring 21-28 day strength certification.
Can I start a block factory on 1 acre of land?
One acre (4,047 m²) comfortably accommodates semi-automatic operations producing 7,000-10,000 blocks daily. For automatic lines producing 20,000+ blocks daily, one acre becomes tight.
How do I calculate curing space for different block sizes?
Use: Curing area = (Daily production × Curing days × Block footprint) / (Stacking height × 0.75). Stacking height is typically 6-8 blocks for green blocks.
Should I lease or buy land for a block factory?
Buy if operating 7+ years—breakeven hits at 5-7 years versus leasing. Lease if testing market demand or needing capital for equipment over real estate.
What’s the ideal distance from raw material suppliers?
Within 20-50 km is ideal. Beyond 50 km, transportation costs add $8-15 per ton. For 10,000 blocks/day consuming 280 tons monthly, excess distance costs $2,240-4,200 extra monthly.
How much expansion space should I reserve?
Reserve 30-40% of total land for future expansion. If initial setup uses 4,000 m², acquire 5,600-6,400 m² total. Expansion within existing facility costs 40-60% less than relocating.
Do I need separate curing areas for different block types?
Yes, when producing multiple products simultaneously. Different products have different curing requirements and shipping schedules. Add 25-35% more curing space versus single-product operations.
Conclusion
Getting factory space right means sizing precisely for production goals while preserving flexibility for growth. Undersized facilities lose $0.08-0.15 per block in extra handling costs, while oversized facilities waste capital better spent on equipment or working capital.
Start with target daily production, calculate backwards through curing and storage requirements, then add 25-30% buffer. Small operations under 5,000 blocks daily need 1,200-2,000 m². Medium-scale plants producing 10,000-15,000 blocks daily need 3,000-5,000 m². Large automatic operations producing 25,000-35,000 blocks daily require 7,500-11,000 m².
Factories that thrive long-term planned for expansion during initial site selection, built infrastructure for 150% of initial capacity, and left 30-40% of land undeveloped for future phases. That forward-thinking costs 15-20% more upfront but saves 40-60% on expansion costs when demand grows.
Ready to plan your block factory layout? Explore our complete solutions with detailed facility designs, or contact Raytone Block Machinery for site-specific layout consultation based on your production goals and land characteristics.