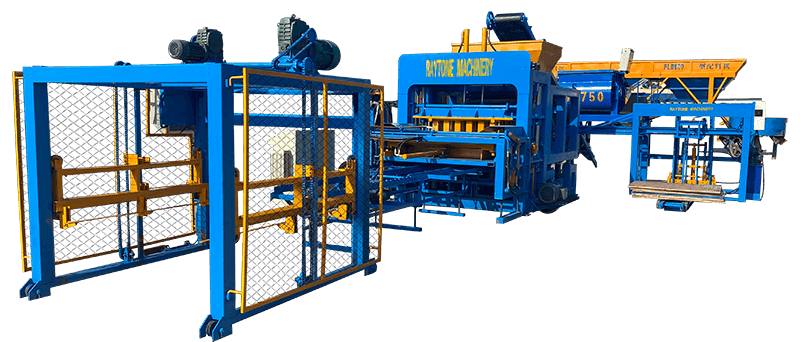






Installing a block making machine correctly determines whether your production line runs smoothly for years or becomes a maintenance nightmare within months. After working with over 200 installation projects across Africa, Southeast Asia, and the Middle East, I’ve seen how a rushed setup costs producers thousands in downtime and repairs—and how a methodical commissioning process pays back within the first production month.
This guide walks you through the complete installation and commissioning process based on real-world experience from Raytone Block Machinery installations, focusing on the critical steps that separate successful operations from problematic ones.
Pre-Installation Site Preparation
Before your machine arrives, proper site preparation prevents 80% of installation delays and future operational issues.
Foundation Requirements by Machine Type
Different machines demand specific foundation specifications. Installing a machine on an inadequate foundation causes vibration issues, misalignment, and premature wear.
| Type de machine | Foundation Depth | Concrete Grade | Curing Time | Load Capacity |
|---|---|---|---|---|
| Manual (QT4-40, QT4-24) | 200-300mm | C25 (3000 PSI) | 14 days | 5-8 tons |
| Semi-Automatic (QT4-30) | 300-400mm | C30 (3600 PSI) | 21 days | 12-18 tons |
| Automatic (QT10-15) | 500-800mm | C35 (4200 PSI) | 28 days | 35-50 tons |
| Fully Automatic Plant | 800-1200mm | C40 (5000 PSI) | 28-35 days | 80-150 tons |
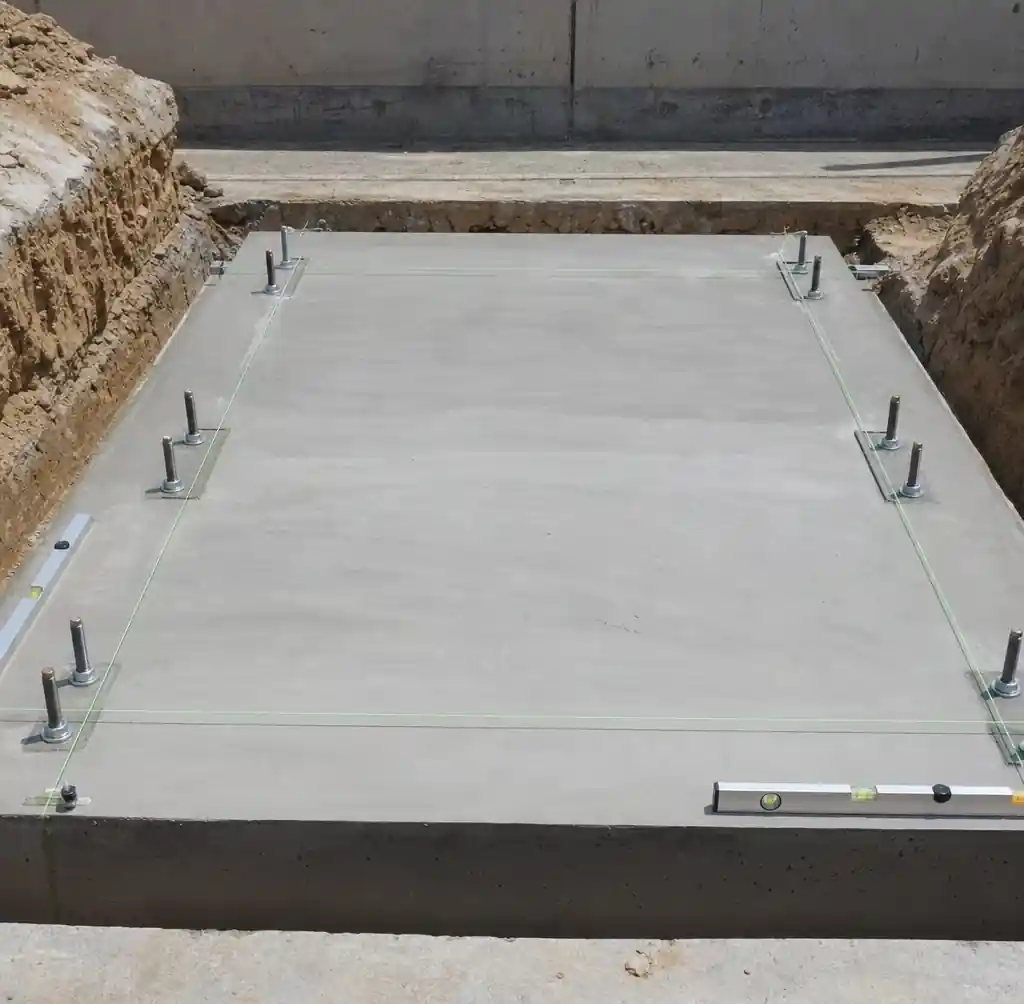
The foundation must extend 200-300mm beyond the machine footprint on all sides. For automatic machines, embed anchor bolts during concrete pouring—retrofitting anchors after curing compromises stability.
Level the foundation to within ±2mm across the entire surface. Use a precision level, not a water level. Automatic machines amplify even small deviations through thousands of cycles, causing uneven block formation and hydraulic system stress.
Electrical Infrastructure
Confirm your power supply matches machine requirements before installation day. Voltage fluctuations above ±5% damage control systems and motors. Manual machines need single-phase 220V with 20A circuit breaker. Semi-automatic require three-phase 380V with 50-80A capacity. Automatic lines need three-phase 380V with 150-300A capacity, plus dedicated transformer for plants above 100kW.
Install a voltage stabilizer if your area experiences frequent power fluctuations. The $800-2,000 investment prevents $15,000+ in control panel replacements.
Material Flow Layout
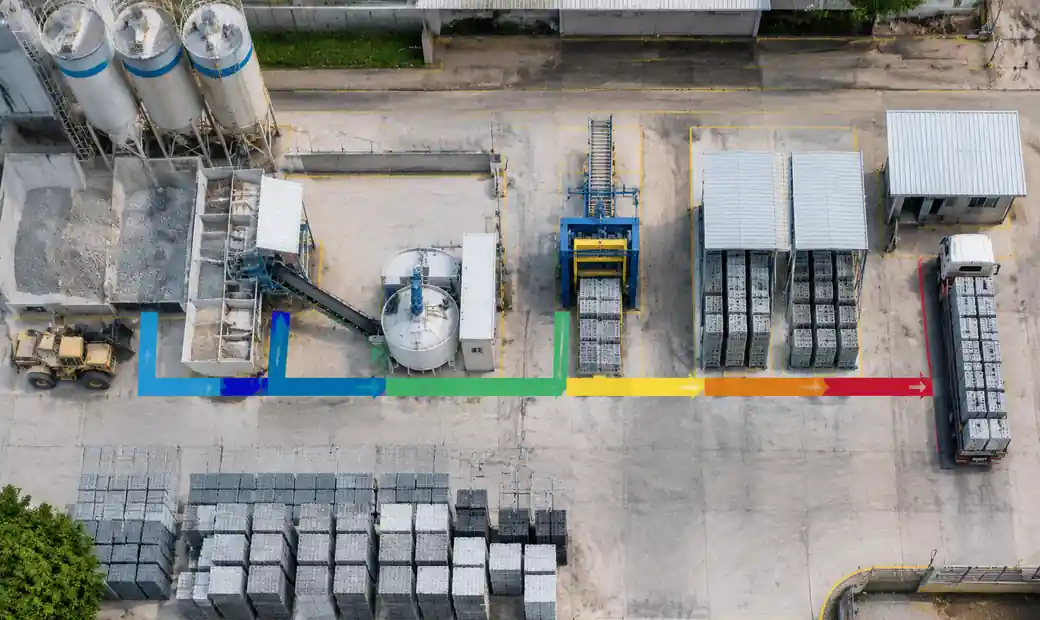
Position your machine considering the complete production flow: raw material storage → mixing → molding → curing → finished product storage. Optimal layout places the mixer within 5-8 meters of the machine hopper. Longer distances require conveyor systems, adding $3,000-8,000 to setup costs.
Step-by-Step Installation Process
Phase 1: Machine Positioning (Day 1)
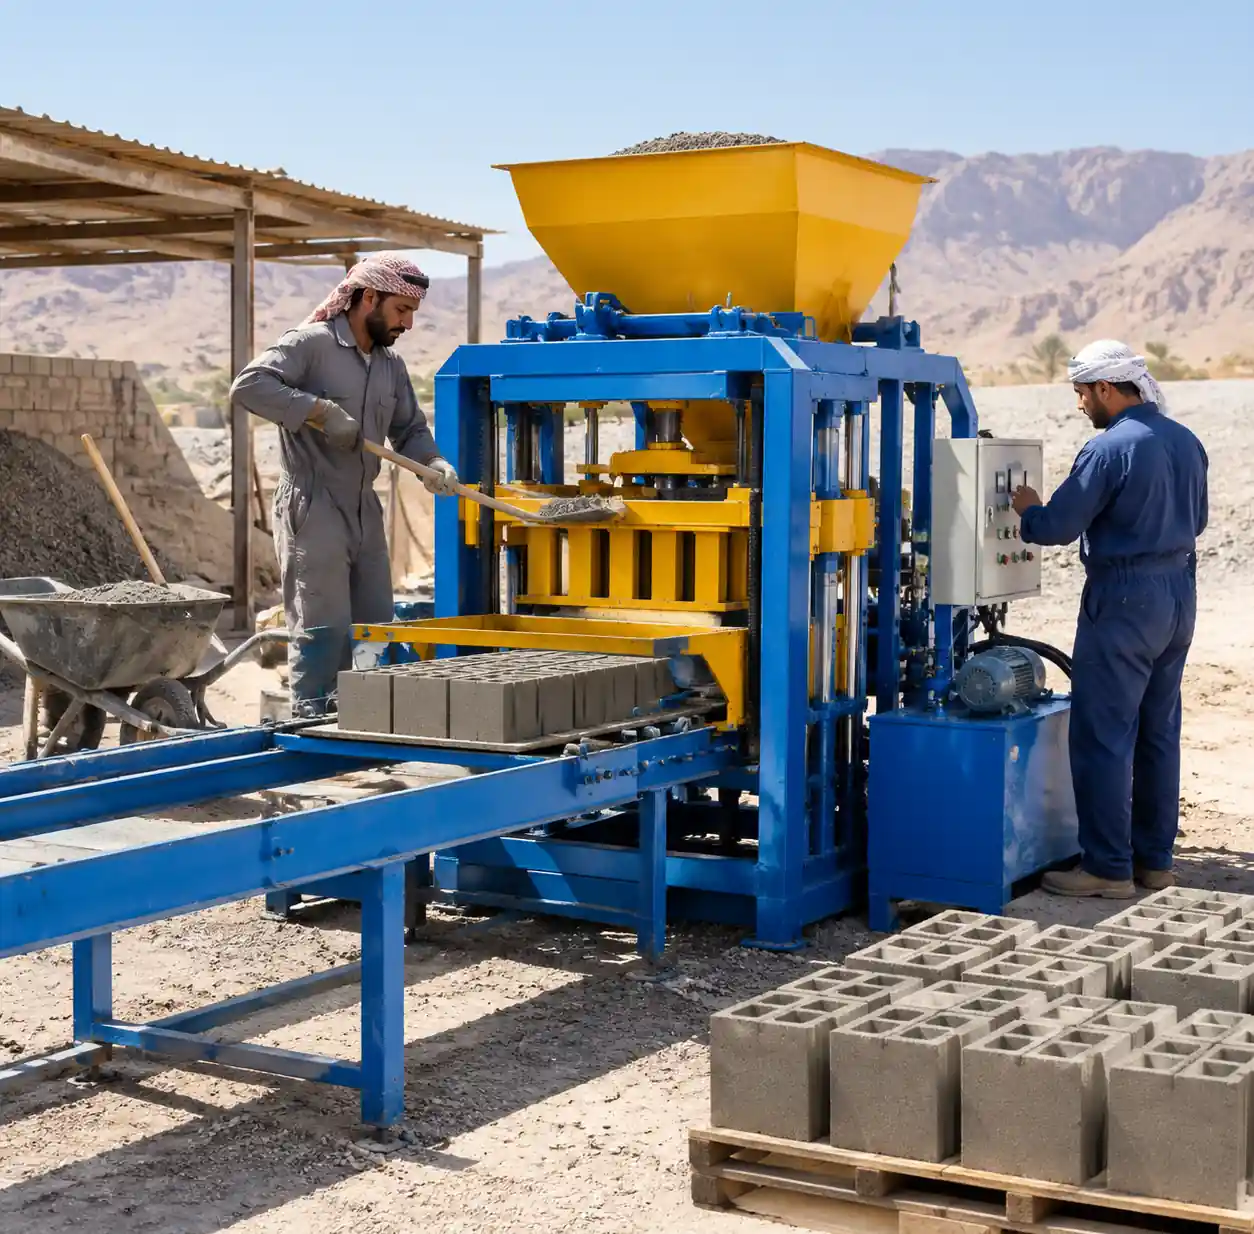
Unload the machine using appropriate lifting equipment. Machines manuelles under 2 tons can be moved with forklifts, but automatic machines require cranes with 10-25 ton capacity.
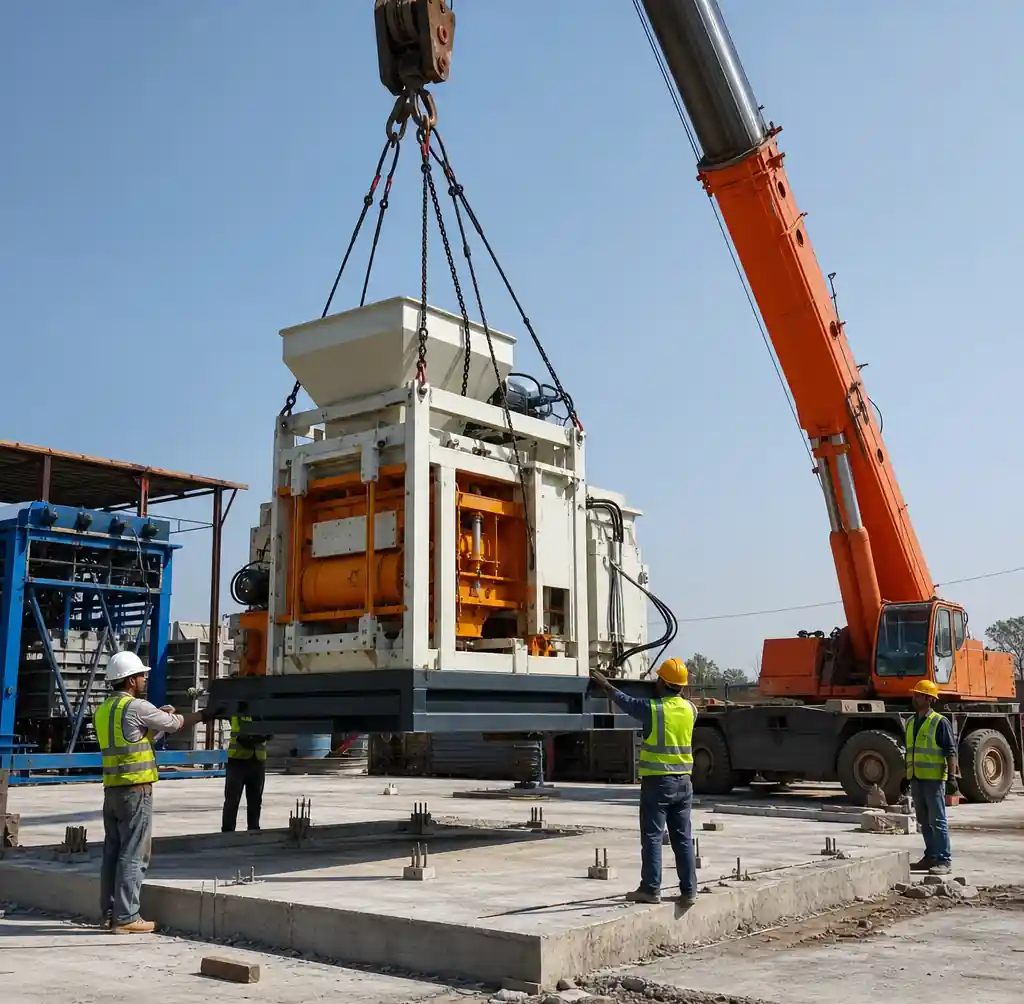
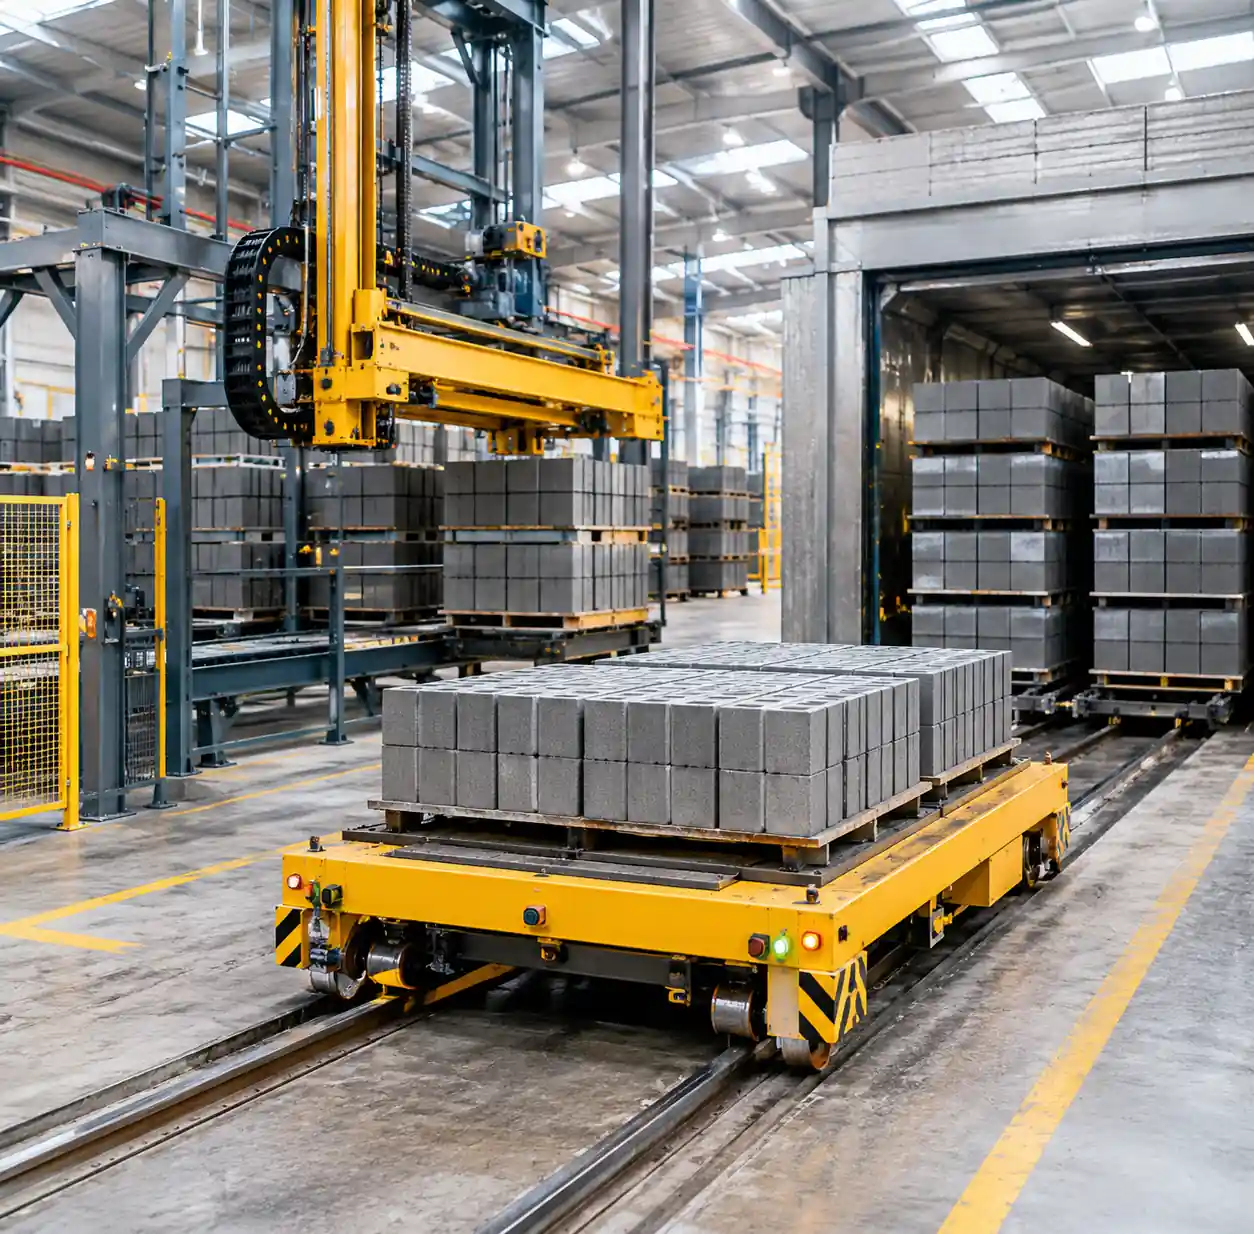
Position the machine precisely on the foundation markings. For automatic machines, align within 5mm of design position—this affects pallet circulation system alignment. Secure anchor bolts through machine base plates using calibrated torque wrenches. Check machine level in all directions. Automatic machines must be level within ±1mm using precision shims.
Phase 2: Hydraulic System Setup (Day 1-2)
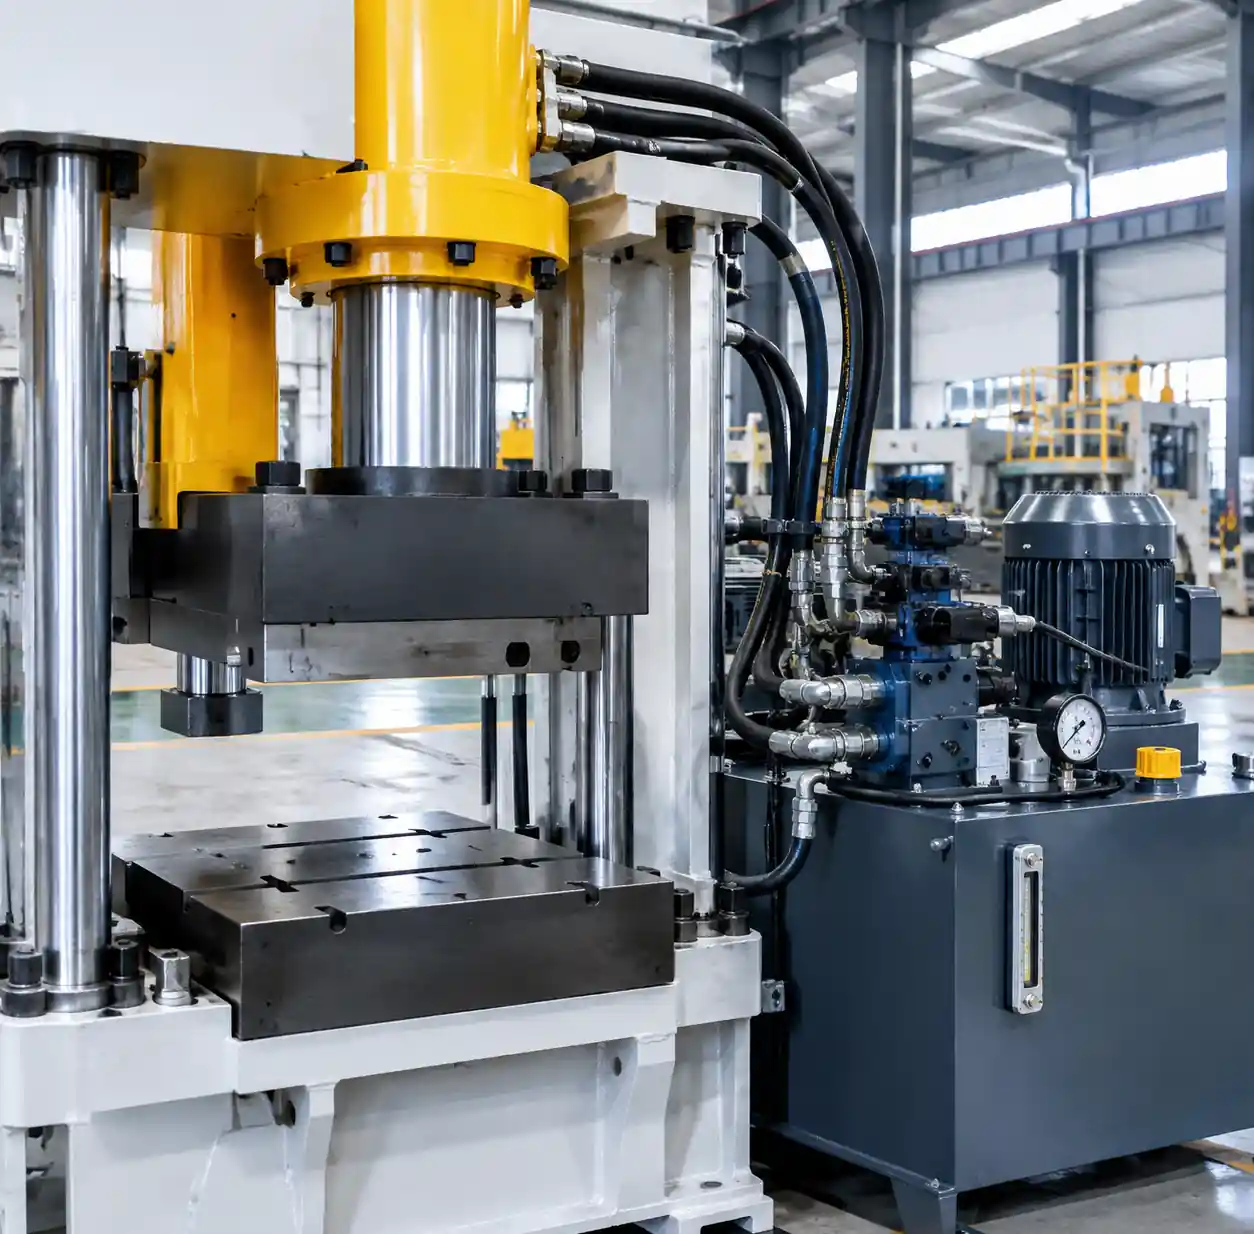
The hydraulic system powers pressing, demolding, and material feeding. Errors here cause 60% of early operational failures.
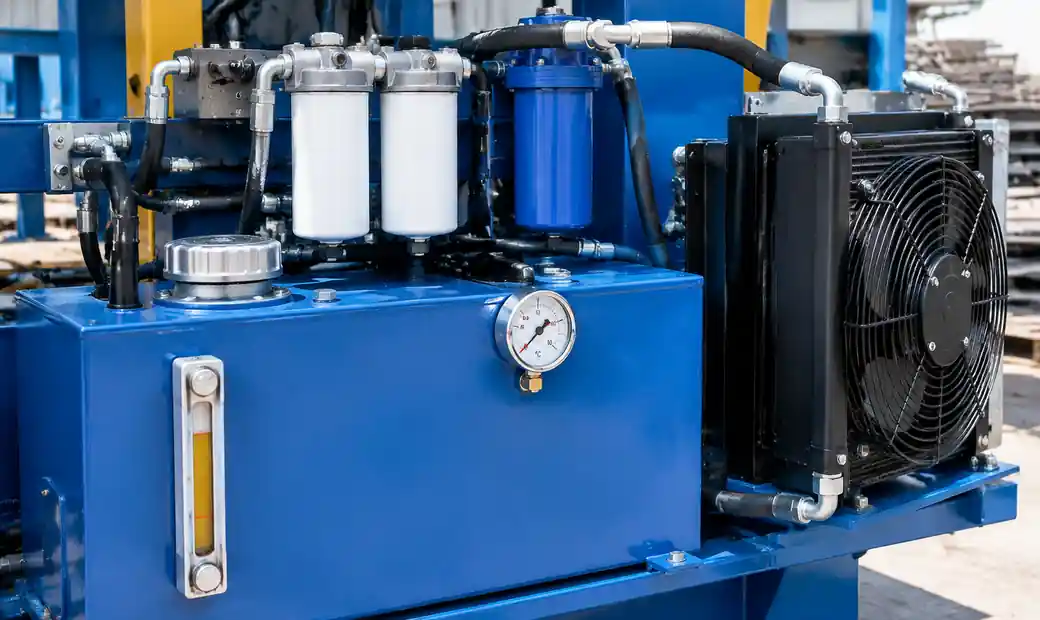
Use ISO VG 46 anti-wear hydraulic oil for most climates, VG 32 for cold regions below 5°C, VG 68 for hot areas above 40°C. Fill the reservoir to 80-85% capacity, never 100%. Oil expands during operation, and overfilling causes seal blowouts.
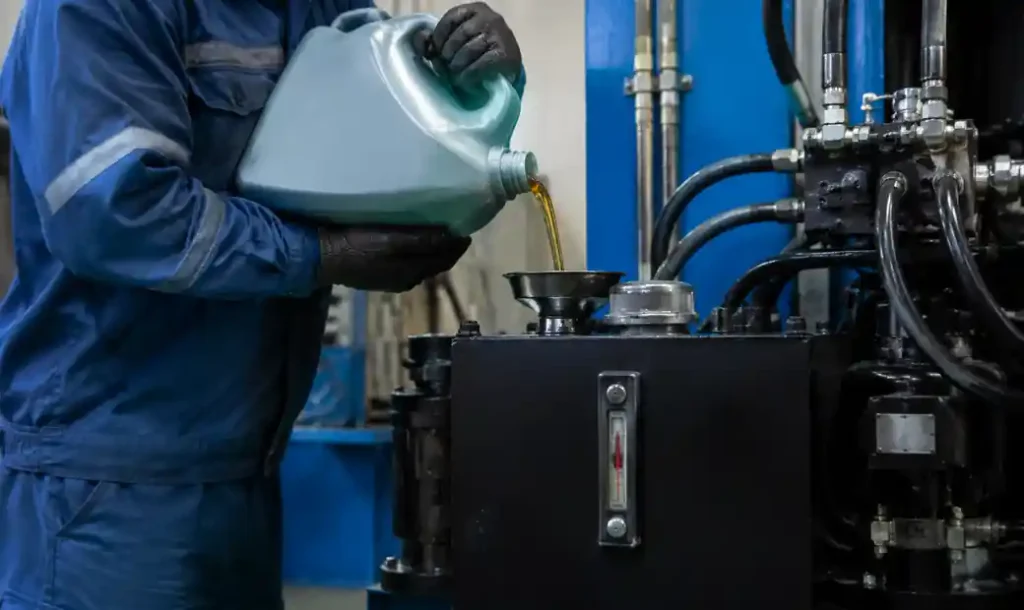
Start the hydraulic pump in short 3-5 second bursts, allowing 30 seconds between runs. Continue until oil flows bubble-free at all actuators. Trapped air causes inconsistent pressing force and uneven block density. Check all hydraulic connections for leaks under pressure.
Phase 3: Electrical Connection (Day 2)
Only qualified electricians should perform electrical installation. Improper wiring causes equipment damage not covered by warranty.
Connect phase lines according to wiring diagram. For three-phase machines, verify phase sequence before powering the main system. Incorrect phase rotation reverses motor direction, potentially damaging mixers and conveyors. Ground the machine properly with resistance to ground below 4 ohms.
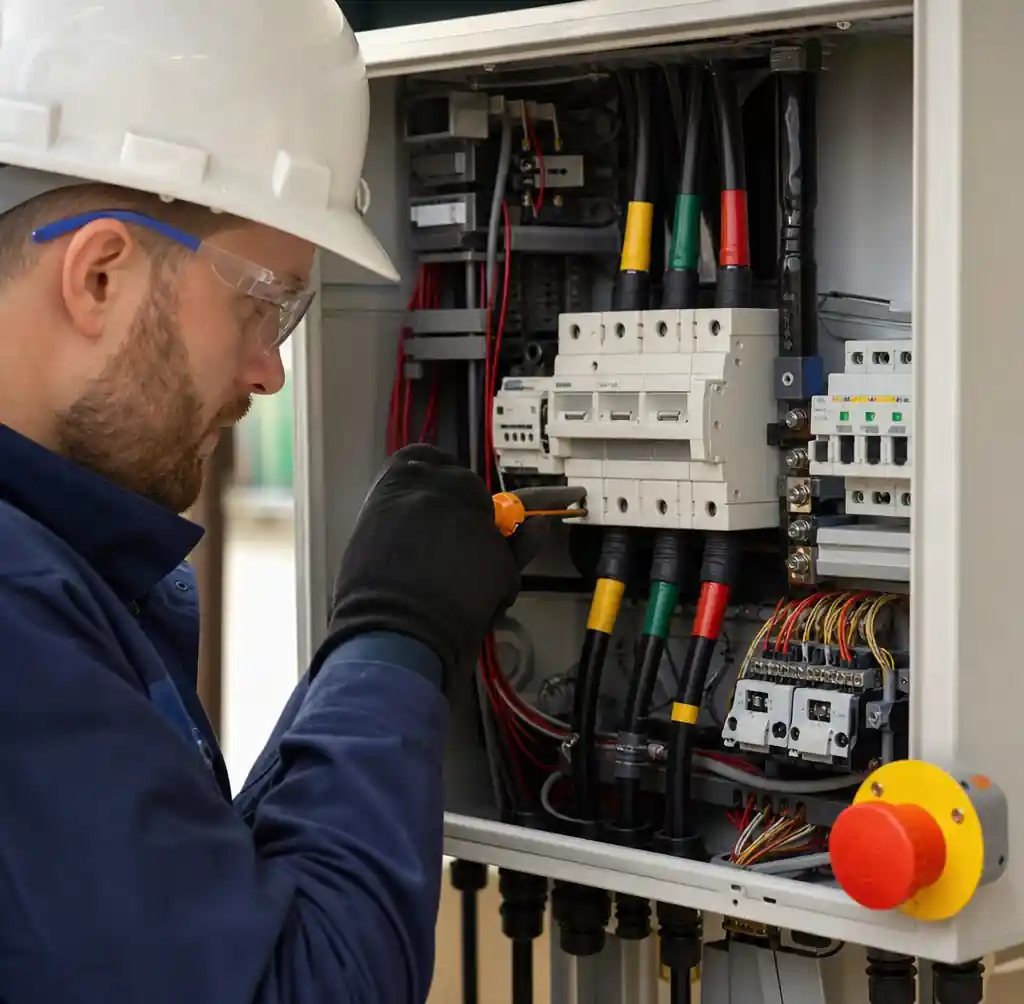
Install emergency stop buttons at machine operator position and mixer location. Test all control panel functions without load: emergency stop response, vibration system activation, hydraulic pump operation, material hopper controls, and safety interlocks.
Phase 4: Mold Installation and Calibration (Day 2-3)
Mold installation directly affects block dimensional accuracy and surface quality. Clean mold cavity and machine mold plate thoroughly. Remove any protective oil or shipping debris.
Install mold with precise alignment. The mold must sit perfectly flat against the mold plate. Tighten mounting bolts in a cross pattern to 150-250 Nm torque, preventing warping.
For a standard 400×200×200mm block, the cavity depth should be 202-204mm to account for compression. Automatic machines have digital calibration—manual machines require shim adjustment.
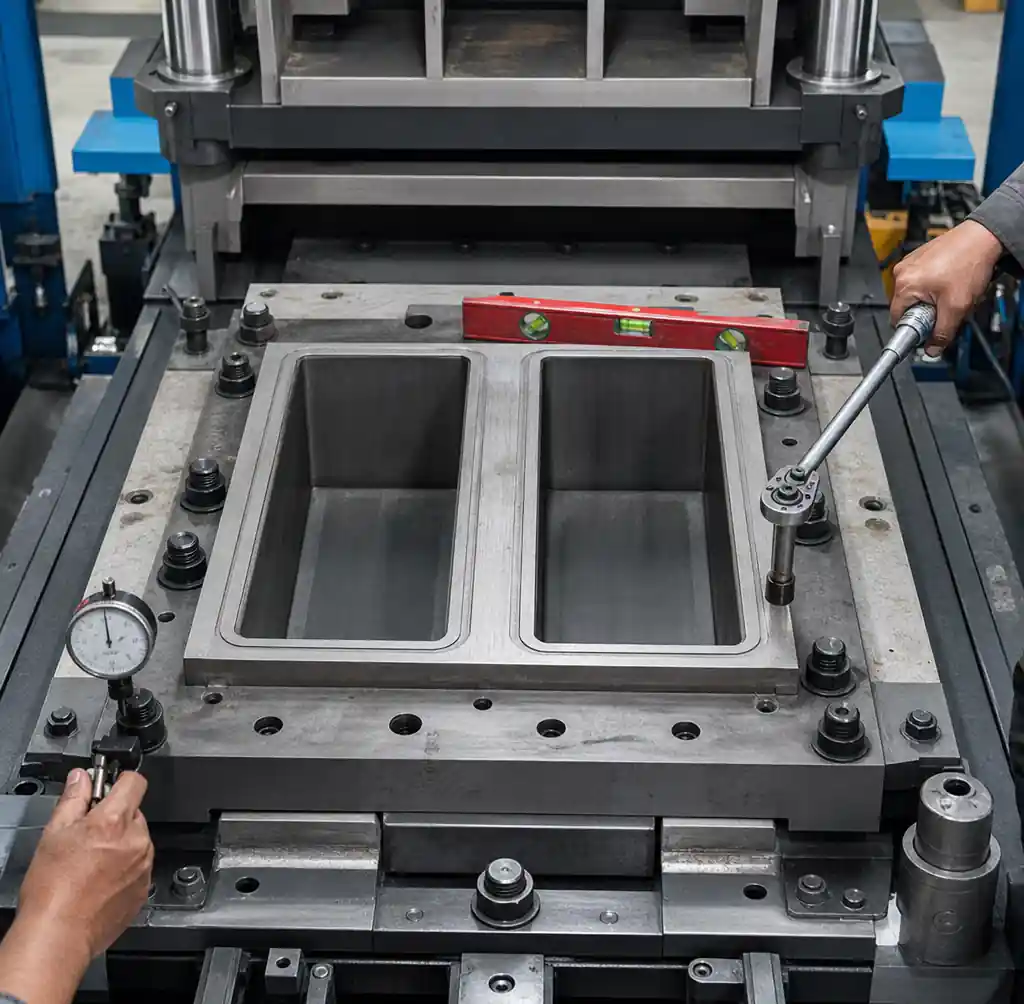
Test press stroke with empty mold. The press should reach full compression without bottoming out hard against mechanical stops. Adjust hydraulic pressure relief valve to 16-20 MPa for manual machines, 20-25 MPa for automatic machines.
Initial Commissioning and Test Production
Pre-Production Checklist
Before running your first batch, verify these critical systems:
| System | Check Point | Acceptable Range |
|---|---|---|
| Hydraulic pressure | Operating pressure | 16-25 MPa |
| Hydraulic oil | Level and cleanliness | 80-85% full, ISO 4406 code 20/18/15 or better |
| Vibration system | Frequency | 50-60 Hz, consistent across mold area |
| Material hopper | Feed gate operation | Smooth operation, no jamming |
| Control system | All sensors responding | Green status on all inputs |
| Safety systems | E-stop and interlocks | Immediate shutdown on activation |
| Electrical | Voltage and phase balance | ±5% of nominal, phase imbalance <3% |
First Test Batch (Day 3-4)
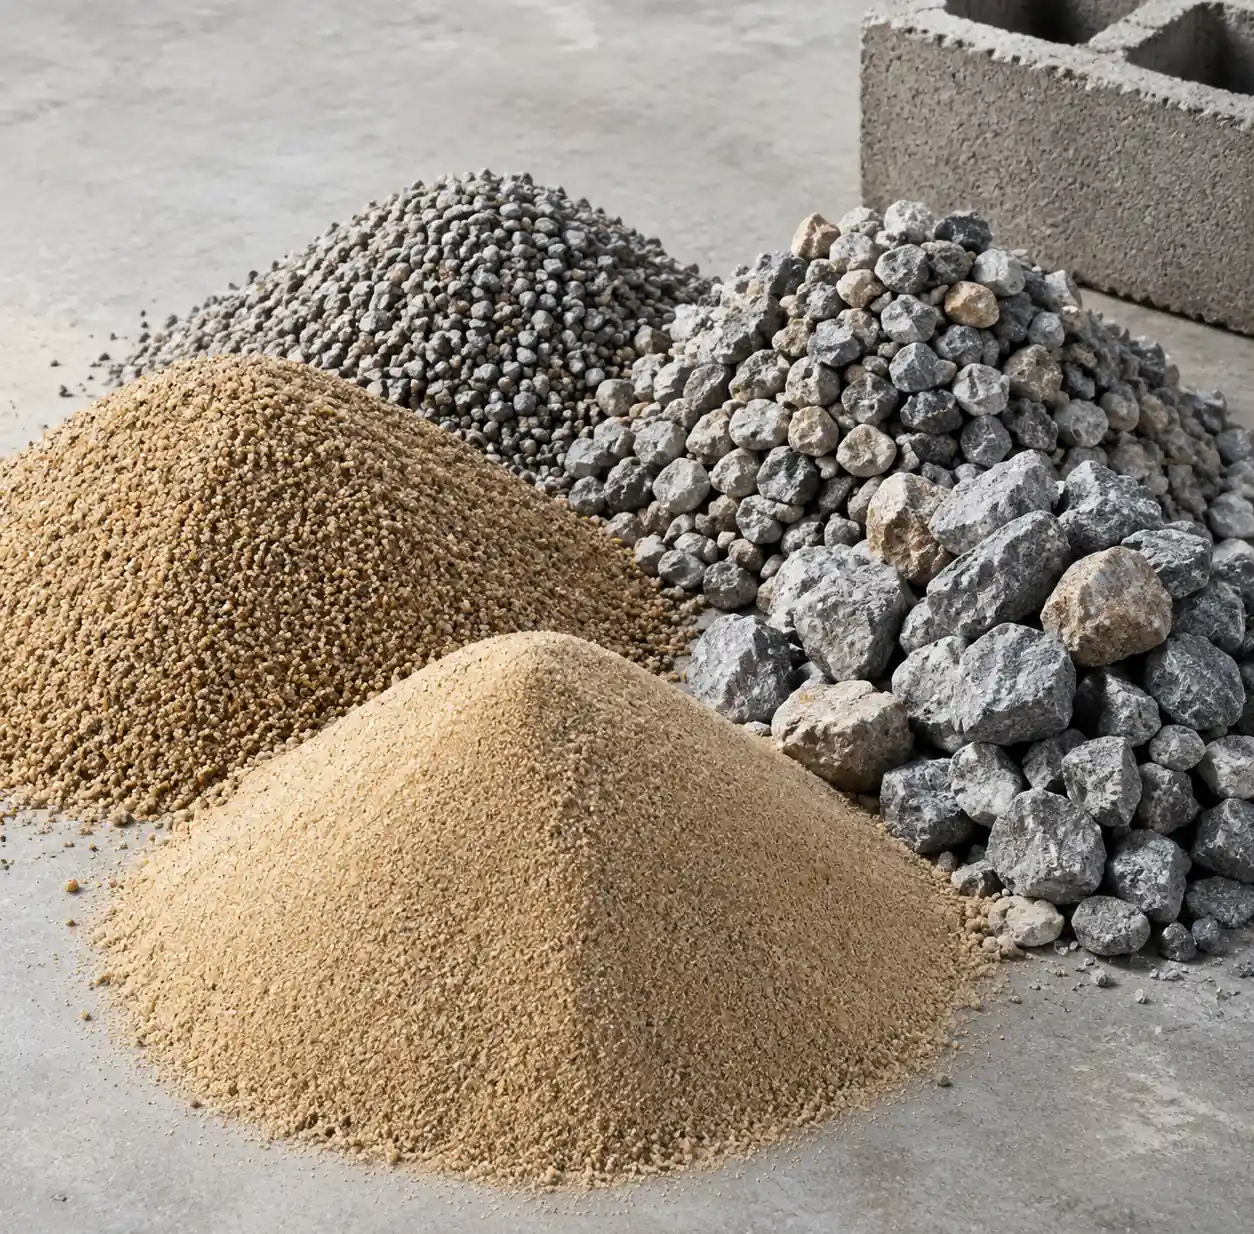
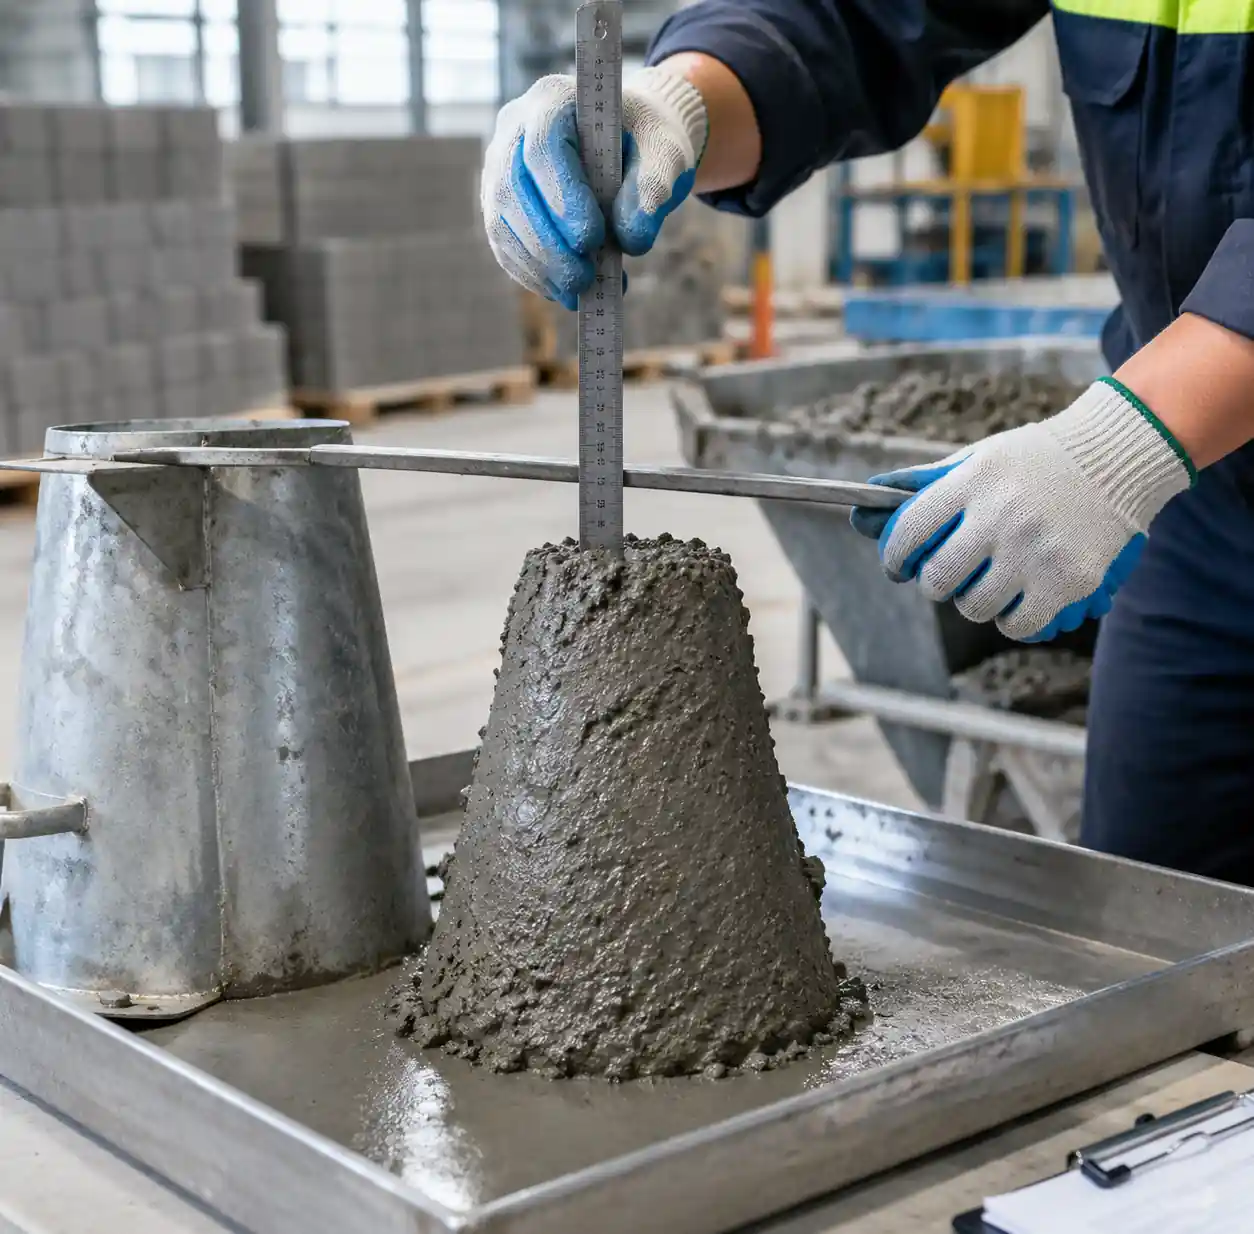
Prepare a small test batch using your standard mix design. For concrete blocks, a typical mix is 1:2:3 ratio (cement:sand:aggregate) with 8-10% moisture content.

Fill mold manually for the first cycle to verify material quantity. Record the exact material volume needed. Set vibration time starting with 8-10 seconds for manual machines, 12-15 seconds for automatic. Calibrate pressing force beginning at 60% maximum pressure, increasing gradually until blocks have clean edges and dense surfaces.
Test demolding—the block must release cleanly without edge damage. Measure first blocks immediately, targeting ±2mm tolerance on all dimensions.
Material Mix Optimization
Initial test production often requires mix adjustments. Blocks crumbling at edges indicate mix too dry—increase water by 0.5-1% increments. Blocks deforming after demolding mean mix too wet or insufficient cement. Surface pitting shows air trapped during vibration. Inconsistent density reveals uneven material distribution.
Run 50-100 blocks during test production. Cure these blocks for 7 days and perform strength testing before full production launch.
Critical Post-Installation Adjustments
Vibration System Fine-Tuning
The vibration system consolidates material and eliminates voids. Incorrect vibration parameters account for 40% of quality complaints.
Automatic machines have dual-frequency vibration: high frequency (60-80 Hz) during filling compacts material quickly, then low frequency (40-50 Hz) during pressing ensures uniform density without segregation.
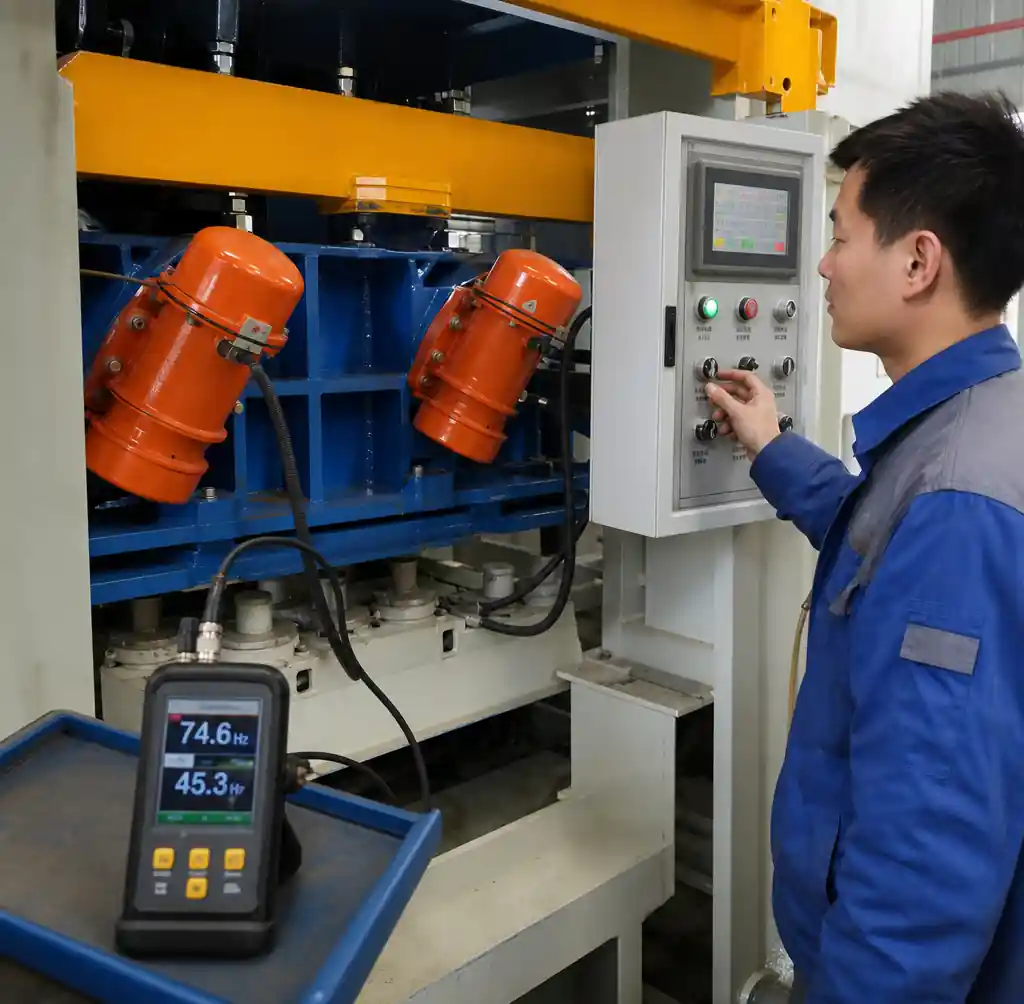
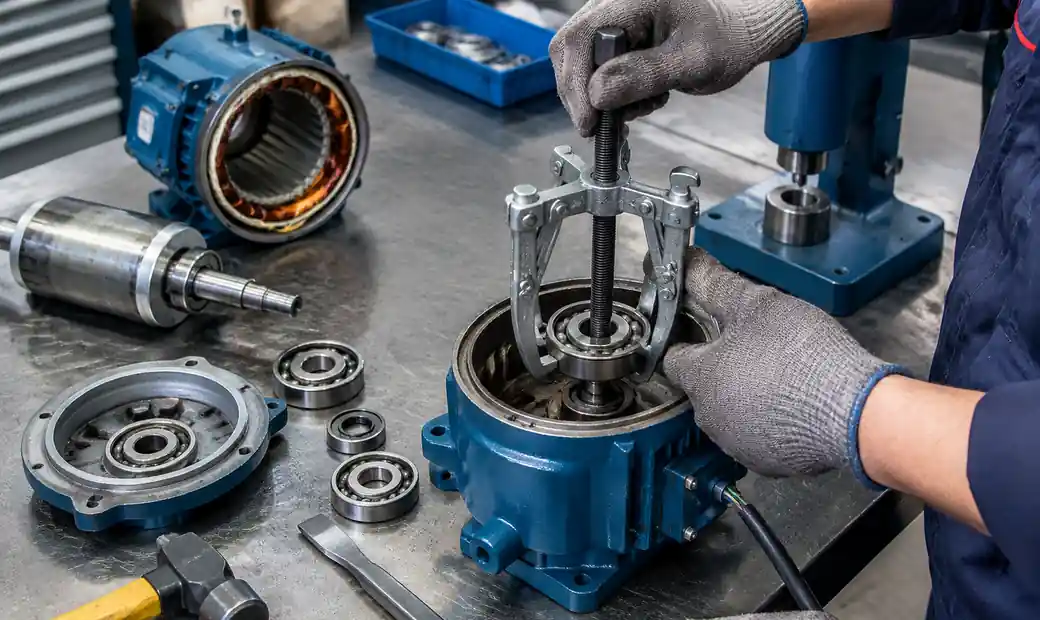
Test blocks from different mold cavities. If outer cavities produce denser blocks than center cavities, the vibration table is warped or mounting points are loose. Re-level the table and check all vibration motor mounting bolts.
Hydraulic Pressure Optimization
Each block type requires specific pressing pressure. Standard hollow blocks need 18-22 MPa; solid blocks require 22-26 MPa; paver blocks demand 24-28 MPa for adequate surface hardness.
Set pressure using the hydraulic system gauge. Modern automatic machines have programmable pressure profiles. Monitor hydraulic oil temperature during continuous operation. Operating temperature should stabilize at 45-55°C. Temperatures above 60°C indicate undersized oil cooler or excessive system friction.
Material Feeding Calibration
Consistent material feeding ensures every block has identical weight and strength. For manual machines, train operators to fill the hopper with the same volume every cycle. Automatic machines have volumetric or weight-based feeding. Calibrate by running 10 cycles and weighing the blocks. Variation should be under 2% between blocks.
Training Your Operators
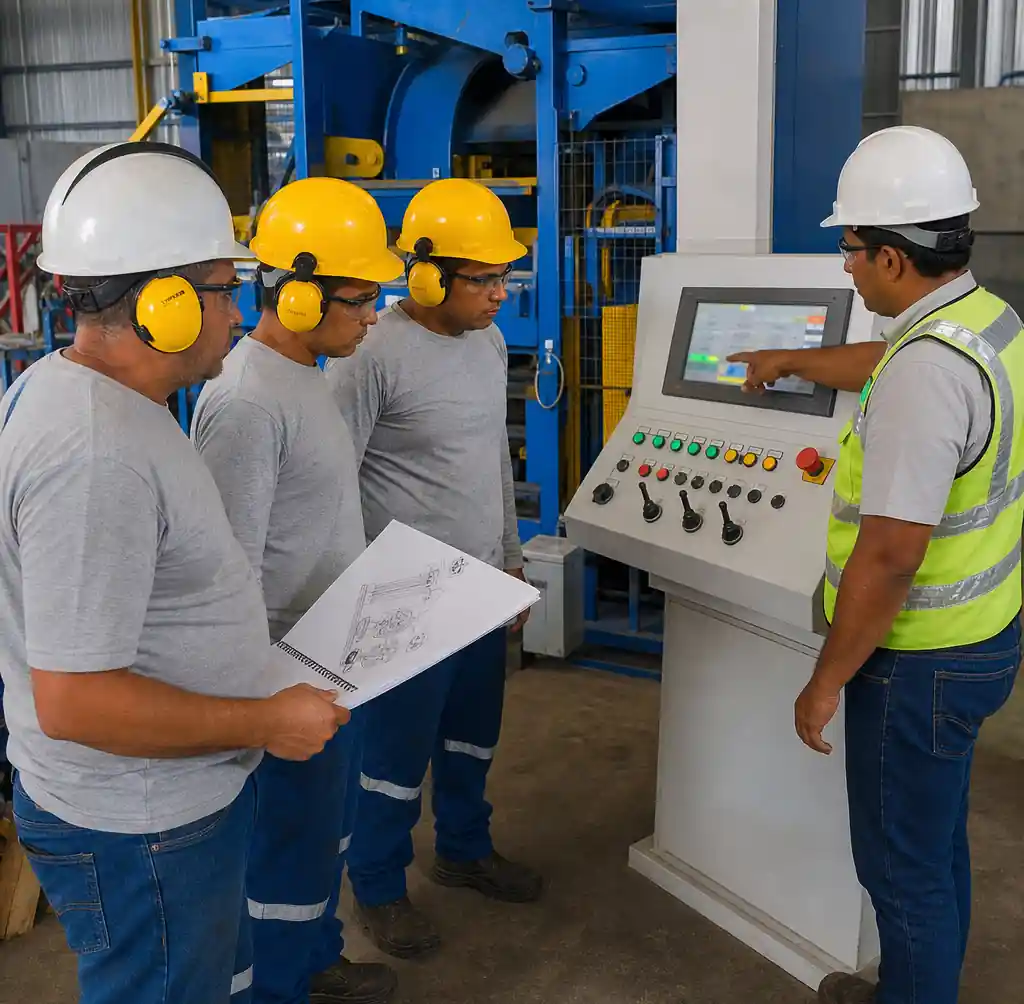
Equipment longevity depends heavily on operator competence. Operators must understand emergency shutdown procedures, lockout/tagout for maintenance, proper PPE, material handling safety, and hydraulic system dangers. Train them on starting and stopping sequences, normal operating parameters, material loading procedures, pallet handling for automatic machines, block quality inspection, and basic troubleshooting.
Cover daily, weekly, and monthly maintenance including oil level checks, lubrication points and schedules, bolt torque verification, mold cleaning, and wear point inspection.
Common Installation Mistakes to Avoid
Rushing foundation curing causes settling and misalignment. Using wrong hydraulic oil—automotive engine oil or generic hydraulic oil lacks necessary anti-wear additives. Skipping initial break-in prevents components from seating properly. Ignoring small leaks leads to major failures. Inadequate operator training causes more damage than normal production wear.
Troubleshooting Initial Operation Issues
Uneven Block Density
Blocks from the same batch have different weights or densities. Causes include vibration table not level, material moisture inconsistent, mold cavity damaged, or hopper distribution uneven. Re-level using precision level, implement batch mixing procedures, inspect and replace worn molds, or add material distribution plate.
Blocks Sticking in Mold
Blocks break during demolding or won’t release cleanly. Increase vibration time by 2-3 seconds, reduce water content by 1%, polish mold cavity or apply release agent, or adjust hydraulic valve flow control to slow demolding speed.
Hydraulic Pressure Drops
Press doesn’t reach full pressure or pressure drops during cycle. Repeat bleeding procedure thoroughly to remove air, check pump output flow rate for wear, inspect cylinder seals for internal leakage, or adjust pressure relief valve setting.
Control System Errors
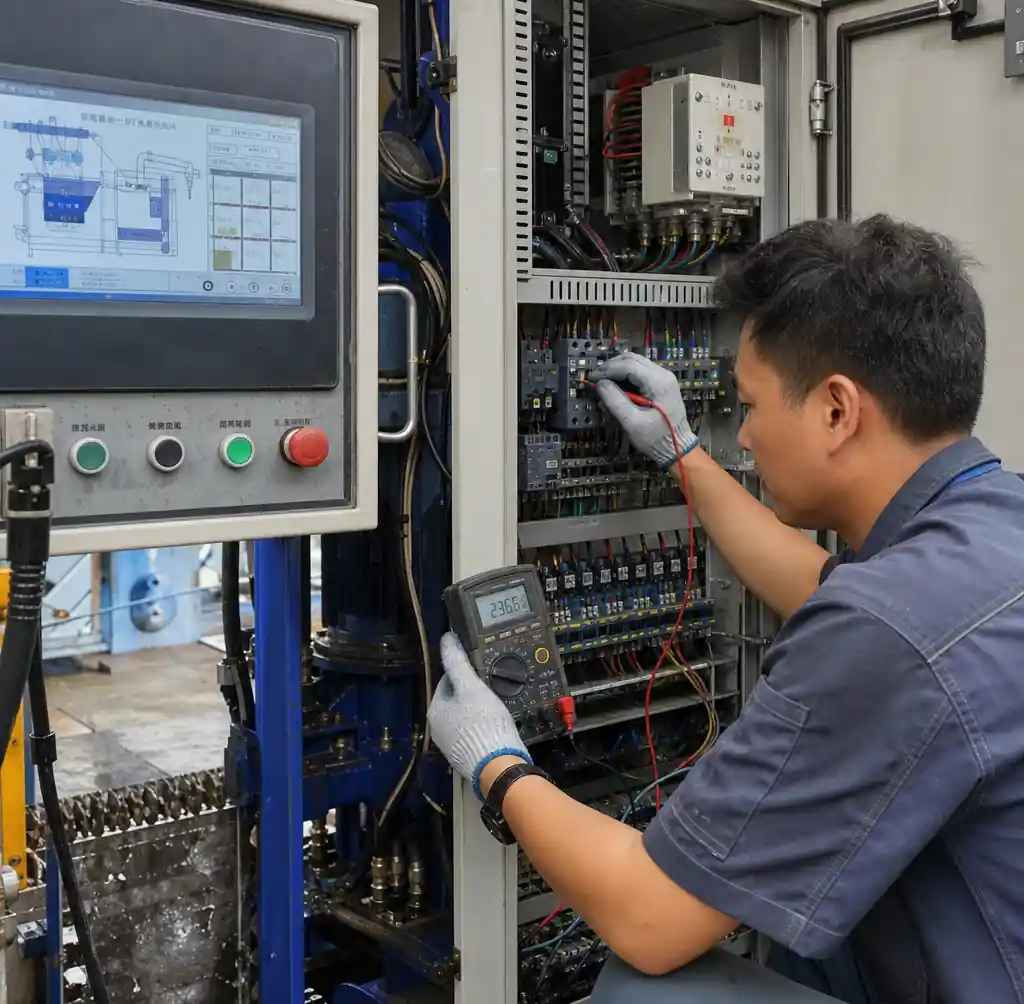
Control panel shows errors or machine won’t start cycle. Check all limit switches and proximity sensors for alignment, verify three-phase power rotation for correct phase sequence, tighten all electrical terminals, or reset to factory defaults and reconfigure software parameters.
Ongoing Performance Optimization
Monitor these metrics weekly: production efficiency (blocks per hour against rated capacity—efficiency below 85% indicates operational issues), block weight consistency (random sample 10 blocks per day with standard deviation under 2%), energy consumption (kWh per 1000 blocks), and downtime tracking (log all stoppages to identify patterns).
Continuous monitoring during the first three months establishes baseline performance and identifies optimization opportunities. Learn more about maintaining peak performance to extend your equipment’s productive life.
FAQ
How long does complete installation take?
Manual machines: 2-3 days for installation, 1 day for commissioning. Semi-automatic: 3-5 days installation, 2 days commissioning. Fully automatic plants: 7-14 days installation, 3-7 days commissioning. Add foundation curing time (14-28 days) before installation begins.
Can I install the machine myself to save costs?
Manual machines can be installed by skilled maintenance personnel following the manual precisely. However, automatic machines require factory technicians for warranty validity. Incorrect installation voids warranty and creates safety hazards. The $2,000-5,000 installation service prevents $20,000+ in damage from improper setup.
What causes blocks to crack during the first week?
Cracks within 24 hours indicate mix issues (too dry, insufficient cement) or excessive demolding force. Cracks at 3-7 days suggest inadequate curing (too fast drying, low humidity). Proper installation ensures correct demolding; proper curing prevents drying cracks.
How often should I adjust the machine after installation?
Check and adjust daily for the first week, then weekly for the first month. After that, monthly calibration checks maintain accuracy. Vibration time, pressure settings, and mold alignment need periodic verification as components wear and settle.
What spare parts should I stock immediately?
Keep these on hand from day one: hydraulic oil (20L), oil filters (3 sets), hydraulic hoses (1 spare of each type), mold release agent, control fuses, and common sensors. Waiting weeks for parts during breakdown costs far more than the $500-1,500 spare parts inventory.
Why do production rates drop after the first month?
Usually due to inadequate maintenance. Hydraulic oil contamination, lack of lubrication, worn mold faces, or vibration motor bearing wear all reduce efficiency. Follow the maintenance schedule strictly to maintain rated capacity.
Can I switch block types easily after installation?
Manual and semi-automatic machines change molds in 30-60 minutes. Automatic machines need 2-4 hours due to calibration requirements. Plan production runs of 5,000-10,000 blocks per mold type to minimize changeover impact.
Conclusion
Professional installation transforms a block making machine from equipment into a profit center. Foundation preparation, precise leveling, systematic hydraulic setup, and thorough testing aren’t optional—they determine whether you achieve rated capacity in month one or struggle with quality issues for years.
The 2-4 weeks spent on proper installation and commissioning pay back within the first quarter through higher uptime, better block quality, lower maintenance costs, and operators who understand their equipment. Production lines installed correctly run profitably for 15-20 years with routine maintenance.
For detailed installation support, technical specifications, or assistance with complex installations, contact our technical team or explore our complete block plant solutions designed for optimal performance from day one.